
The image map feature Potterware is a few days old, and it’s quickly becoming one of my favorite features of all time. I’ve spent a good amount of time over the past months learning complex 3D Software (Fusion360, Rhino, and Grasshopper) and have made meshes with image maps the hard way.
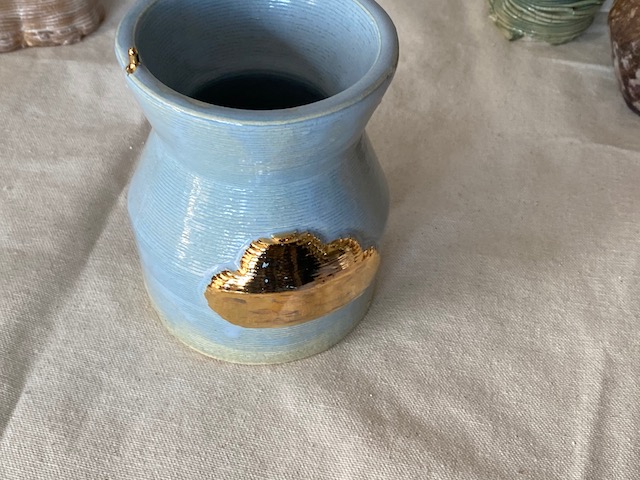
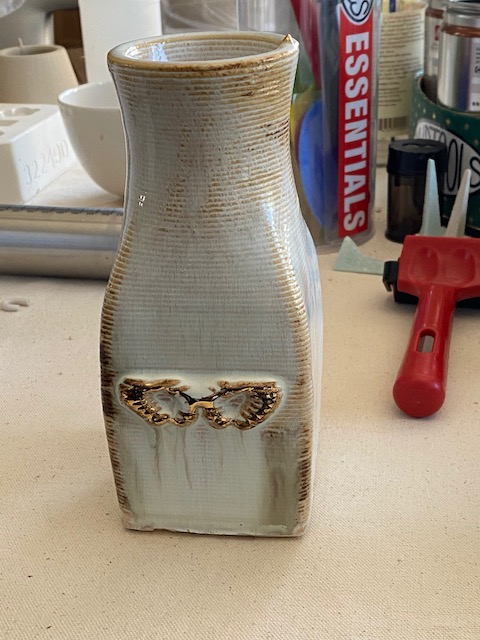
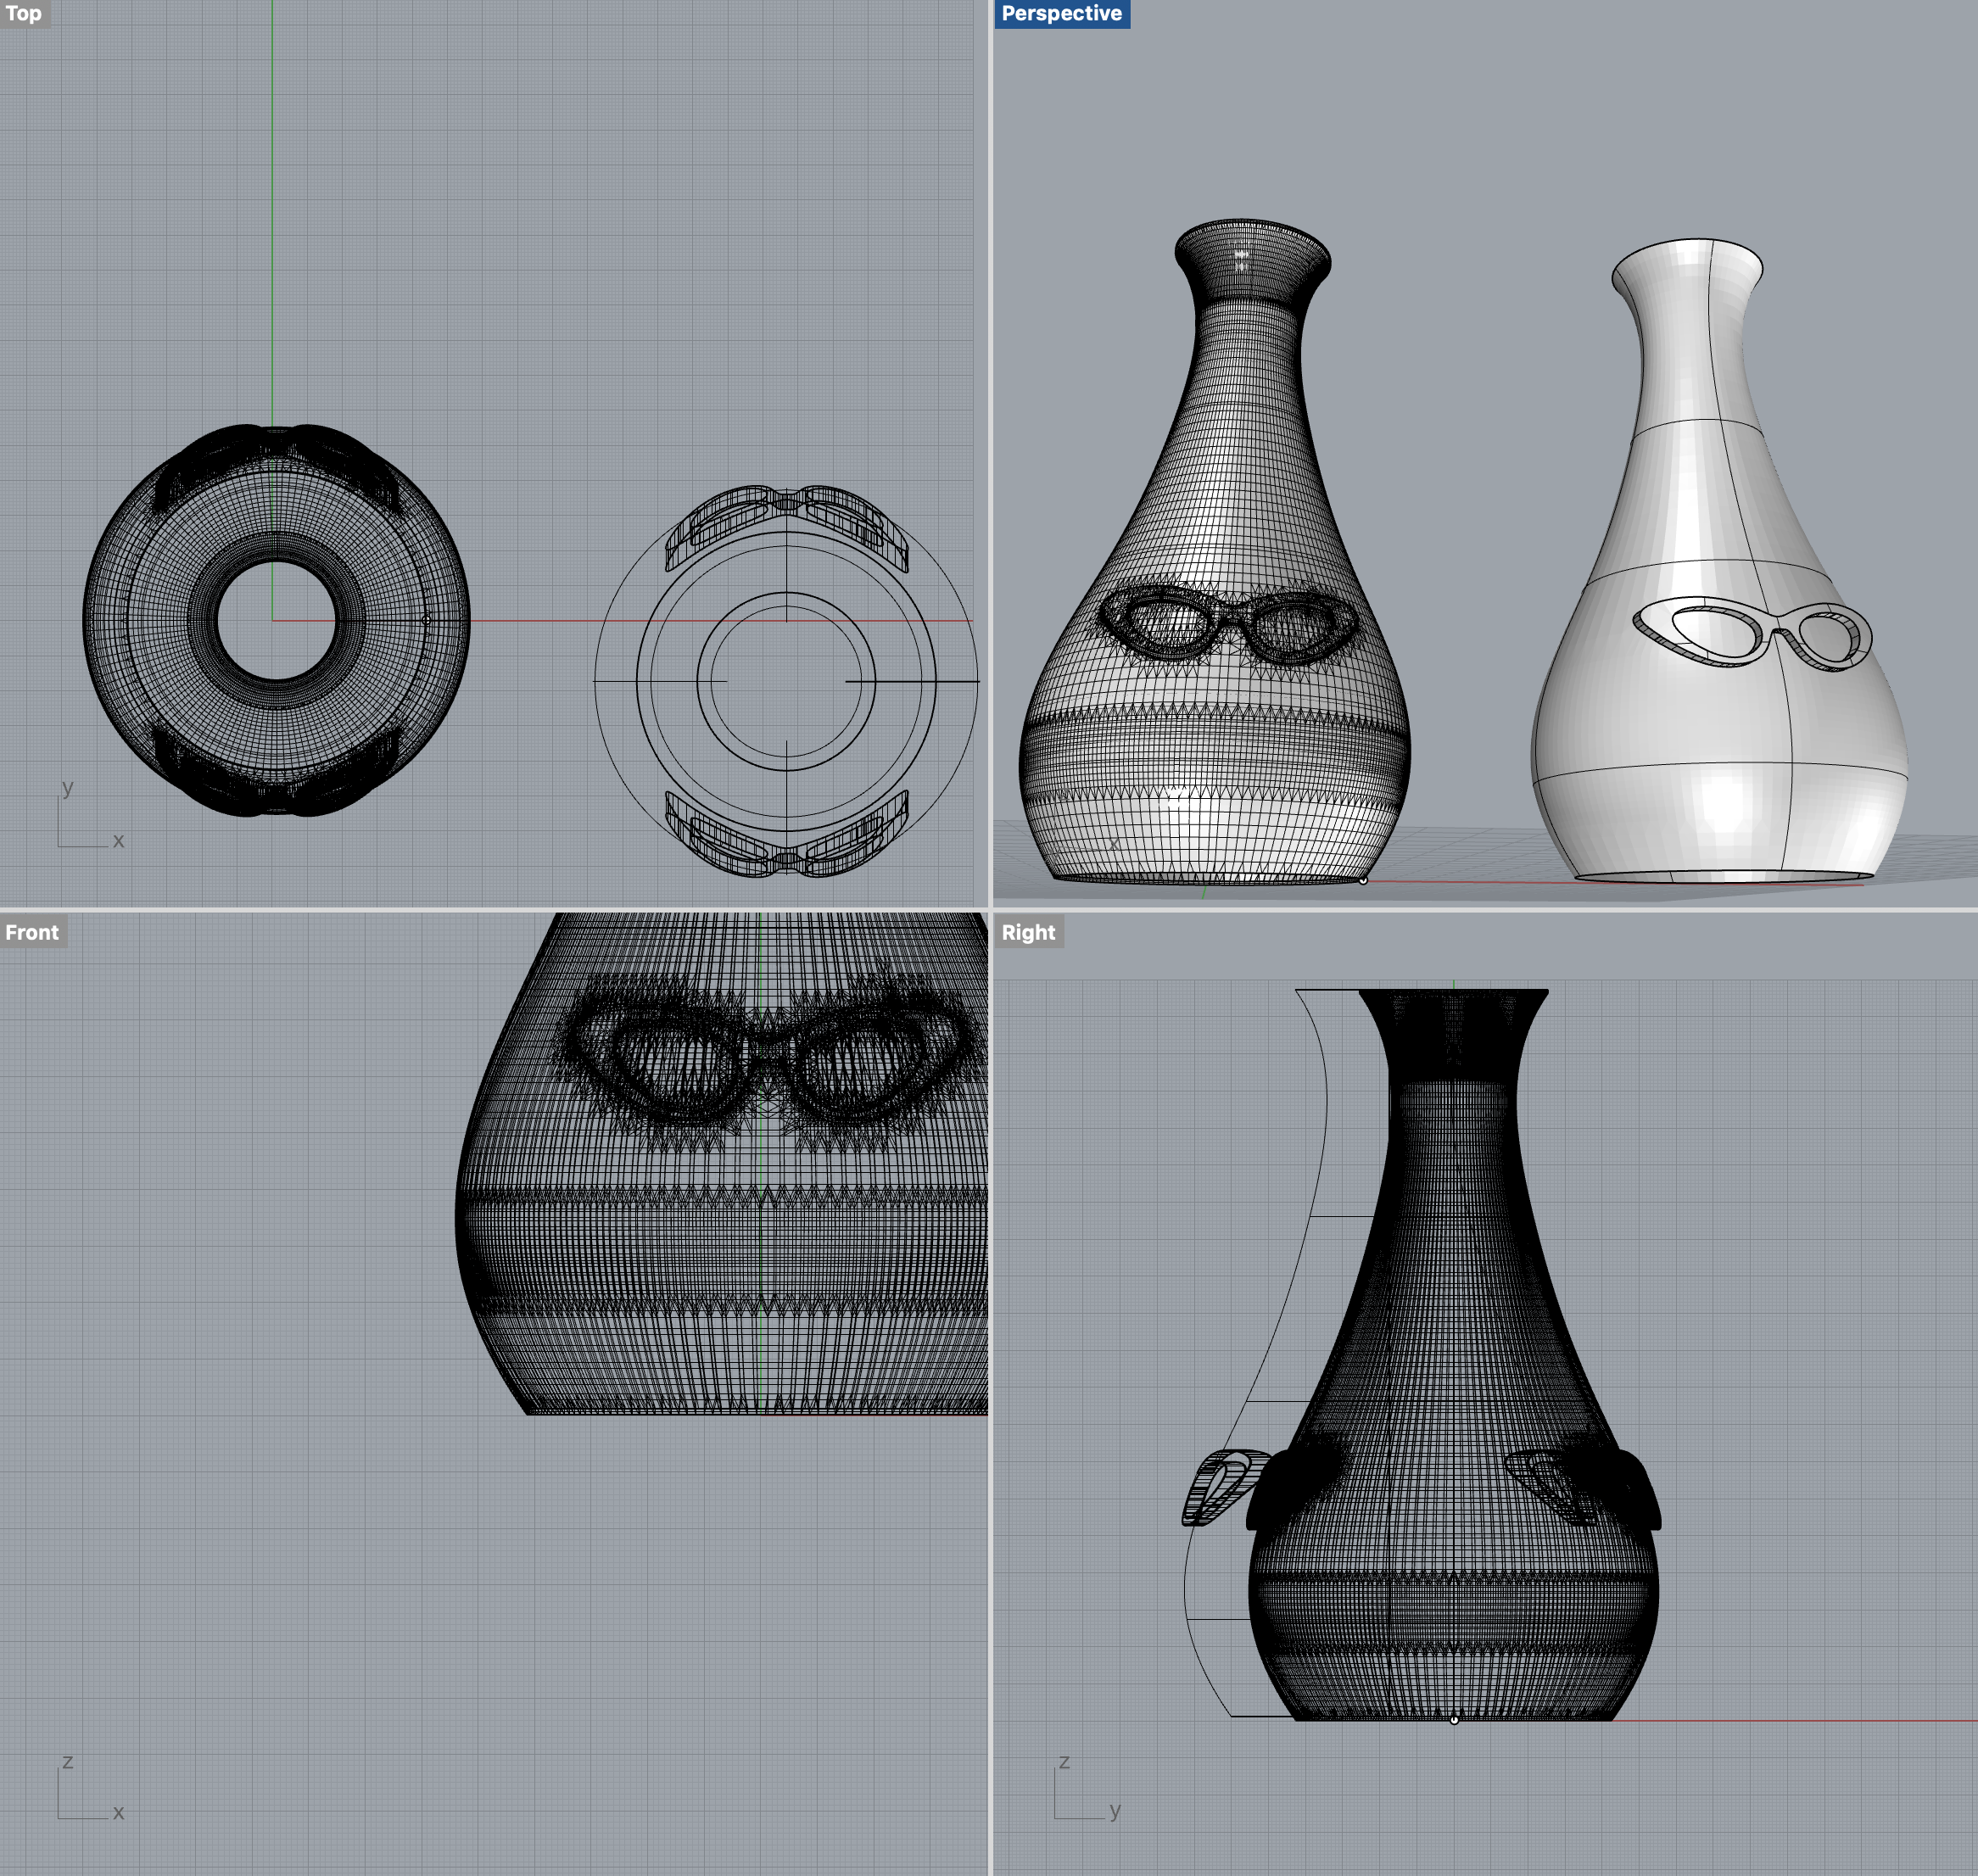
Here are some examples of me putting designs on 3D printed pots. My workflow was to design in Illustrator, bring vectors into the modeling software, extrude, combine with my form, and then boolean together to make a solid mesh to print. It was fun to learn all those things, but Potterware makes that workflow unnecessary.
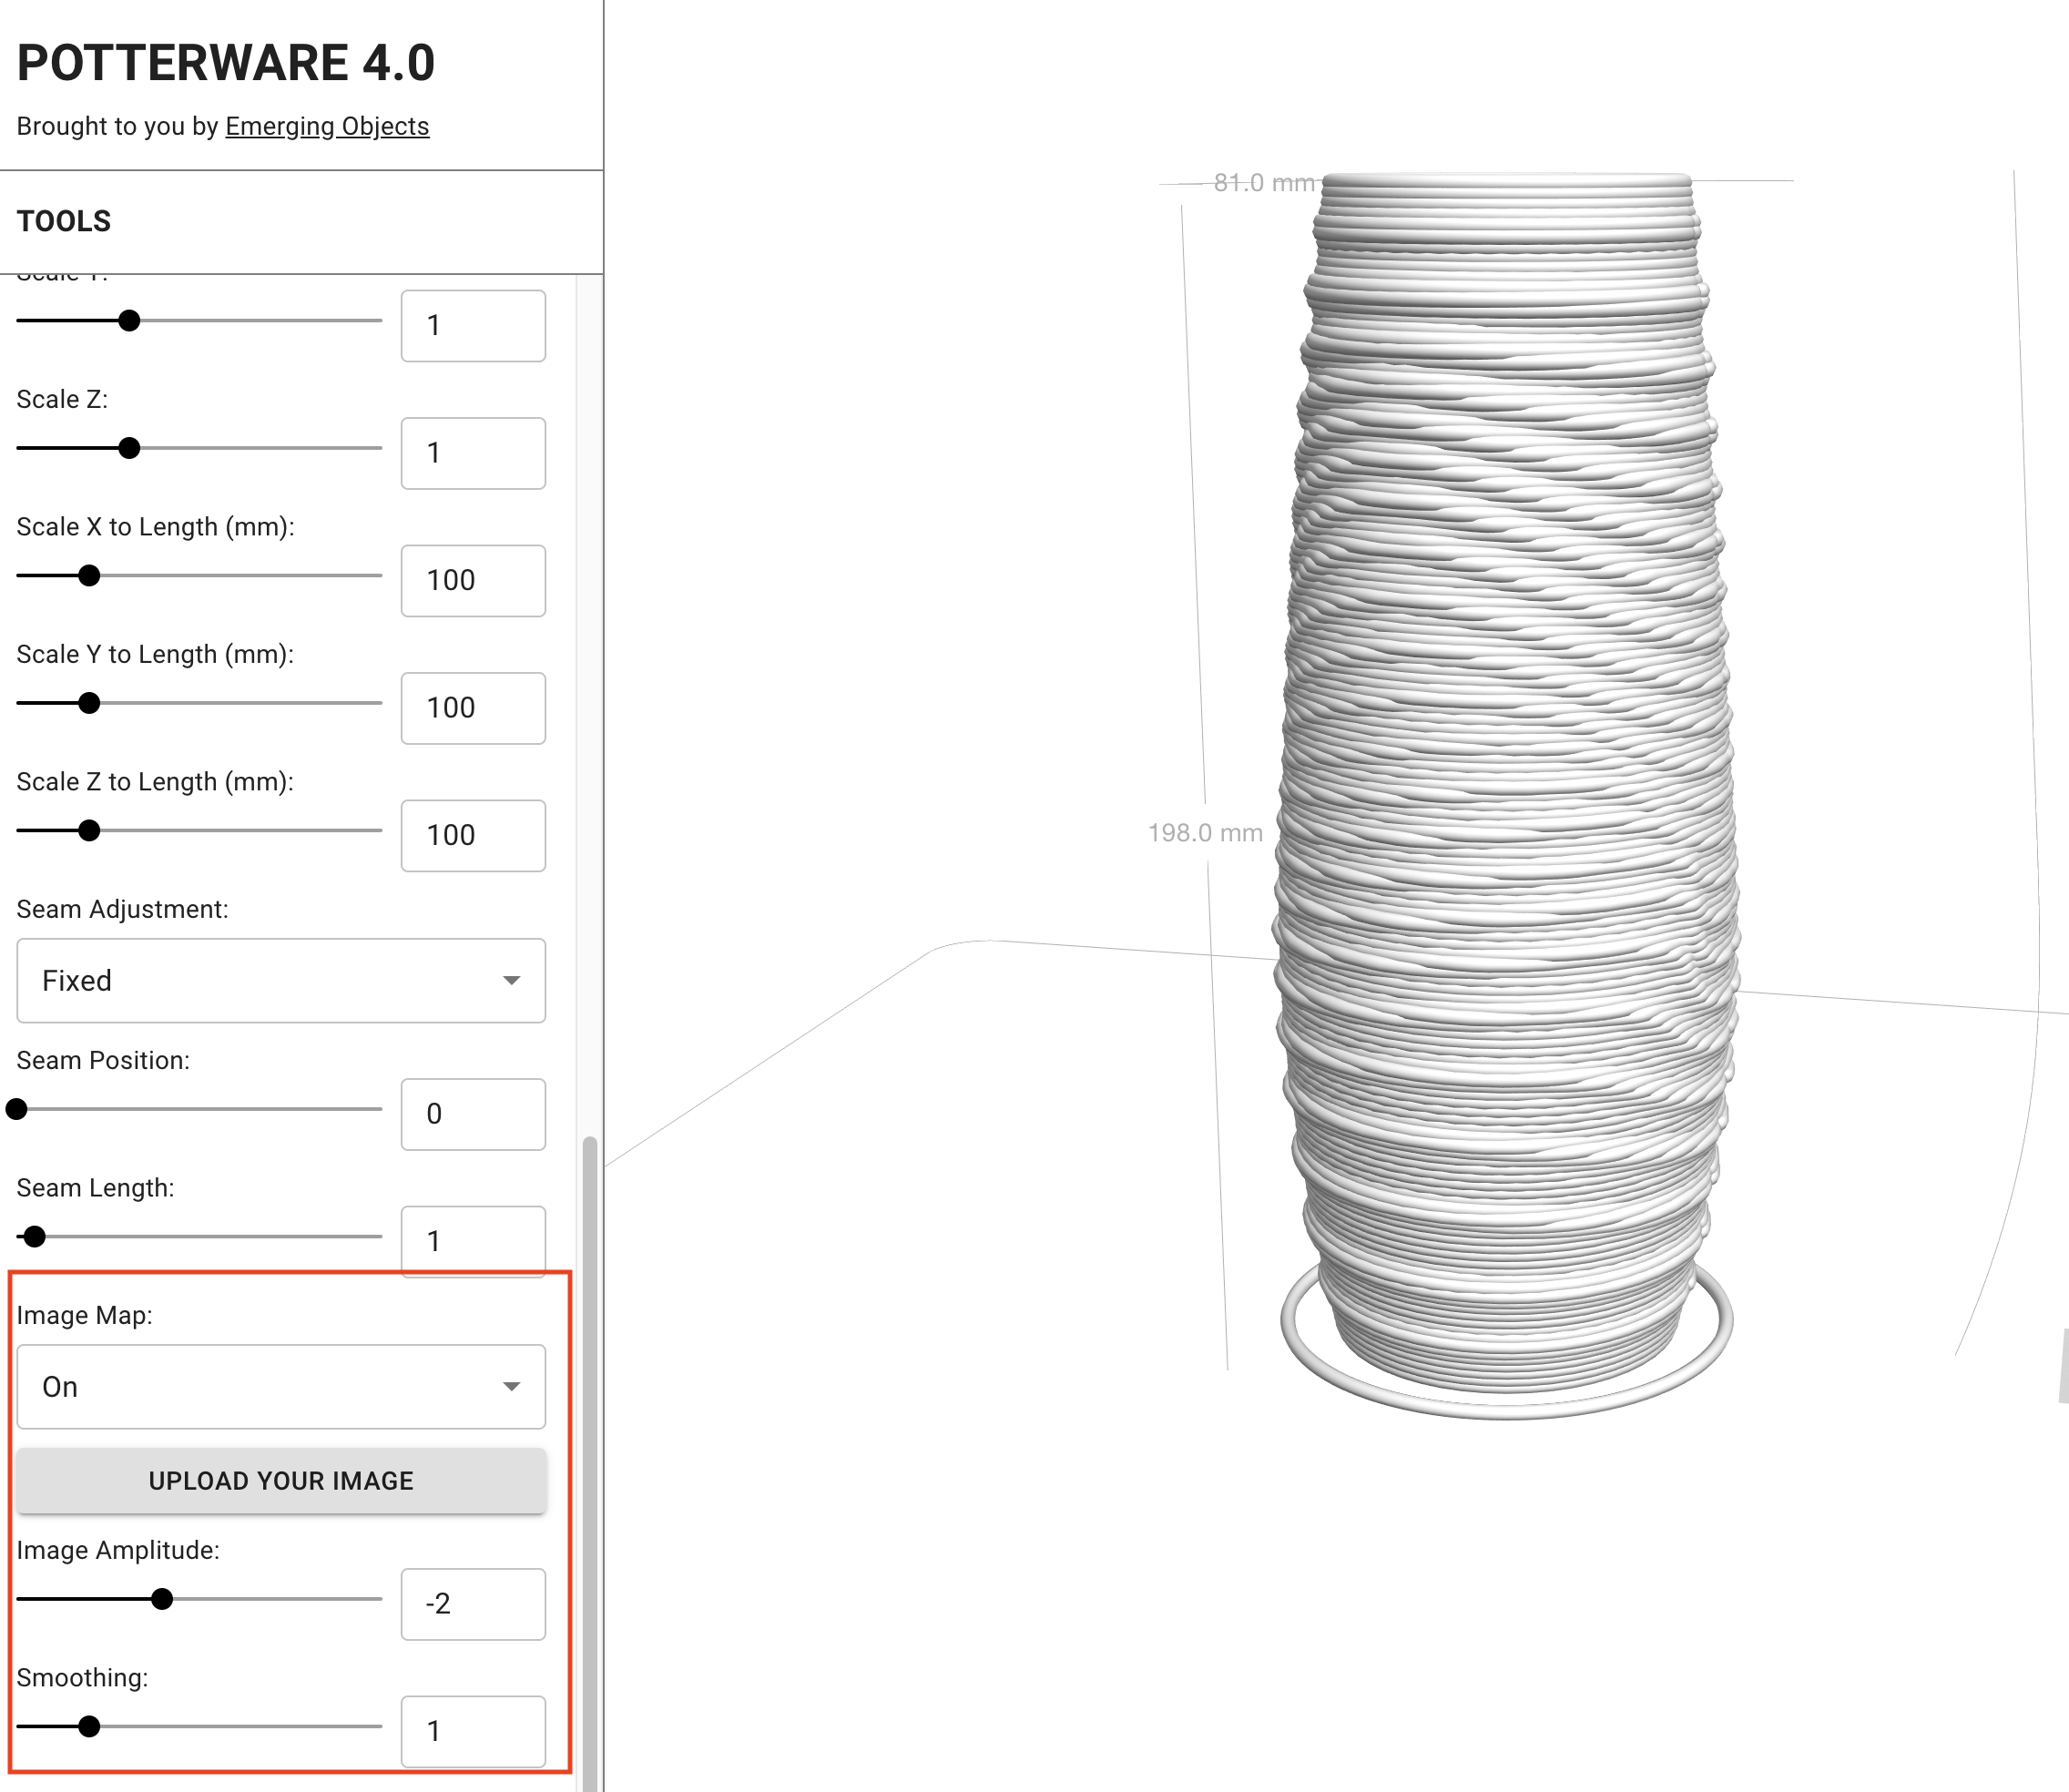
In Potterware 4.0, applying an image map is done with the click of an upload button and changing a single setting found on the left side of the interface under Object Settings. This example is with a seamless pattern, and distortion is not evident. I downloaded this repeating pattern from the internet by searching for images that met my criteria of high contrast, no visible edges due to repeated edges, and interesting texture. I paid no attention to its size, and I’ll get to that next.
The issue with distortion happens when you have a more identifiable image and you want it to appear without being stretched. It’s necessary to measure your object, and find the height and circumference, and make the map that size before you apply it.
I didn’t know how to measure circumference or even know how to spell the word without spellcheck. Math was not my thing in high school, and I’ve gone 65 years without needing to know. I’m am now learning a lot about math with 3D software, because of my passion for clay printing. I think for some of us, we need to have a reason to learn something. I wish Potterware were taught in high school – it would have made me like to study math more!
There are a few things to know about image maps before I explain more about circumference. The smaller in size the better. There is no need for a high resolution image because the resolution of 3D clay prints is low. You can make a pixel-to-pixel size calculation without converting to millemeters or inches – it’s fairly straight forward. For example if the height of my object is 200 mm (about 8 inches) I can make the height of my image map 200 pixels and it will map properly to scale without distortion.
The width however, requires that I know the circumference – basically the size if I laid the curve out as a flat surface. For a cheat, there are circumference calculators on the web. But the formula is simple if you want to understand it. Let’s say that the width of my model is 80 mm wide in its diameter. I need to multiply 80 (d) x 3.14 (π). It’s ok to round up in potterware as it’s not that accurate, but the exact answer would be 251.2.
So, if I want to make an image that has a perfect 1:1 ratio for my model that is 200 high and 80 in diameter, I would make a graphic that is sized to 200 x 251 in 72 dpi.
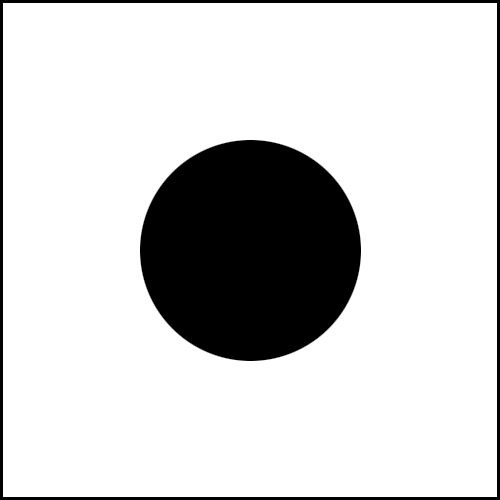
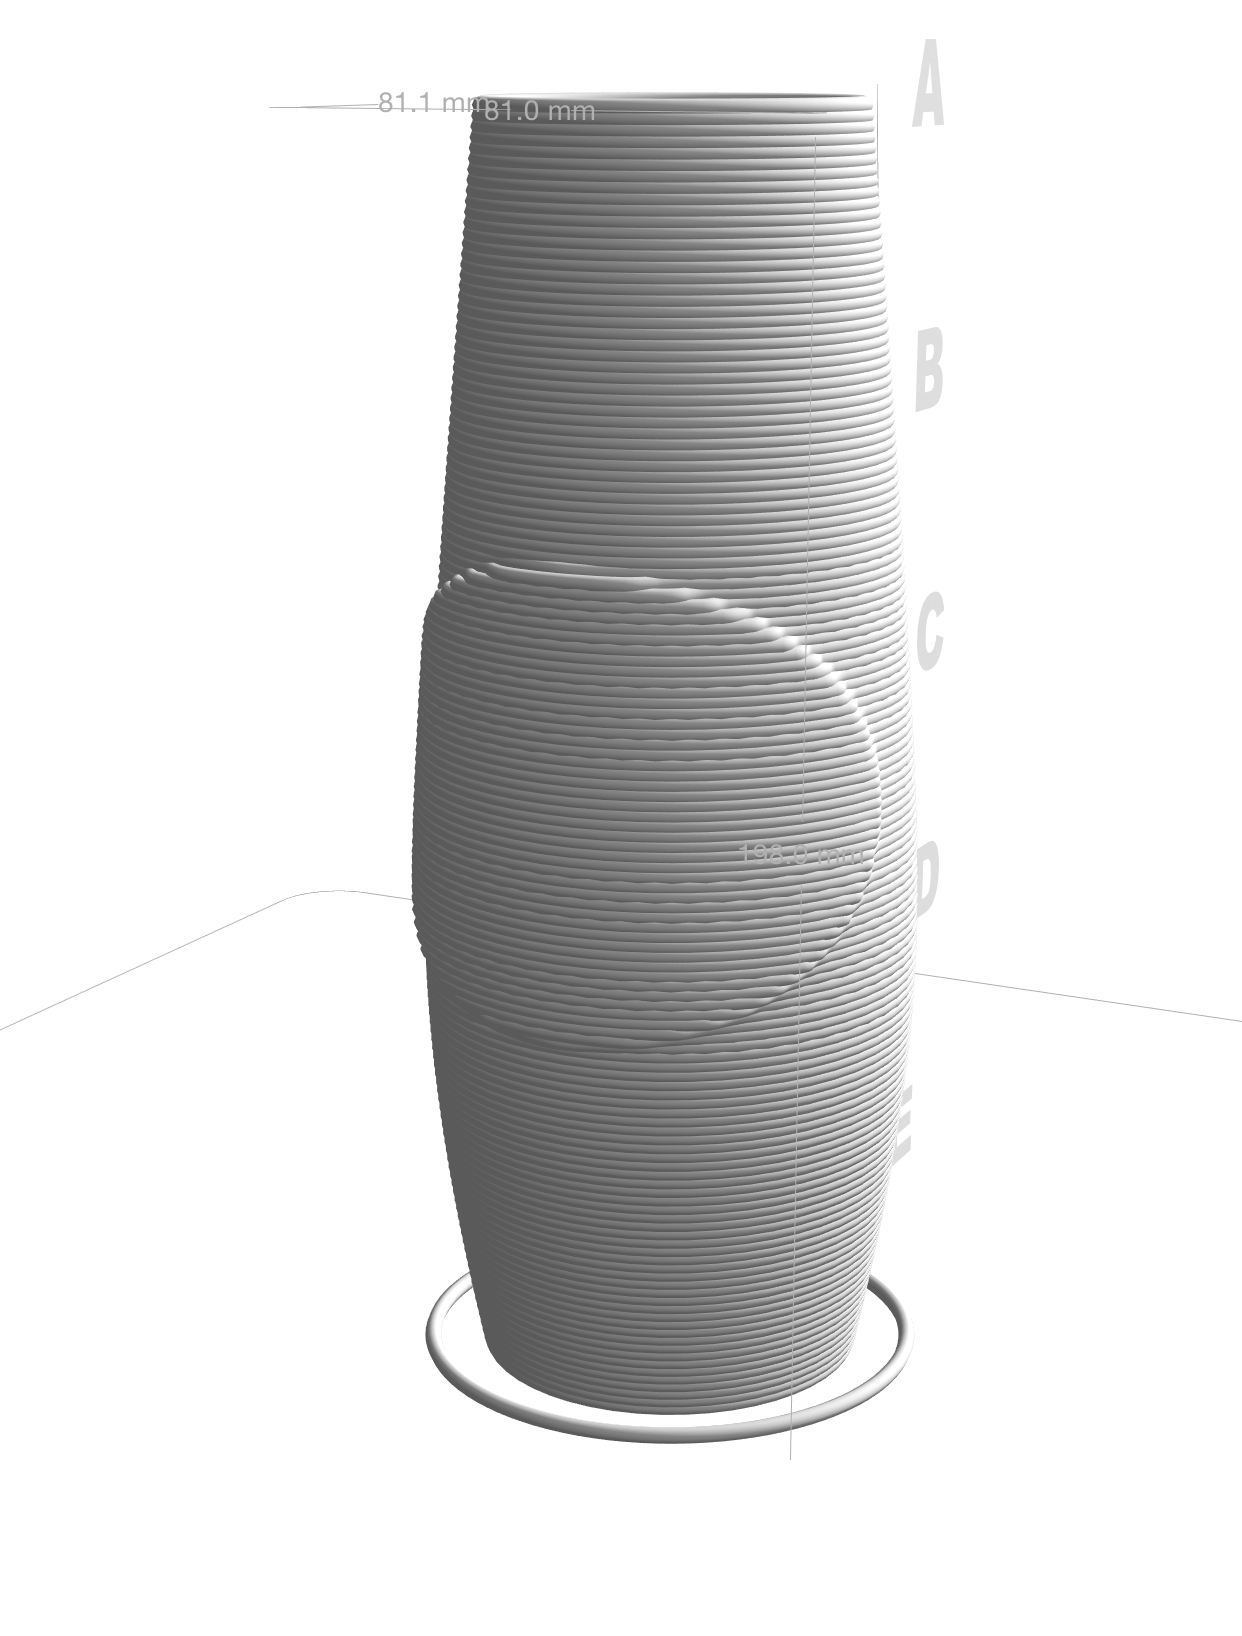
Here is a random circle that is on a 500 x 500 pixel canvas on my object. The black outline is just for purposes of showing the size and shape on a white background. Note the distortion.
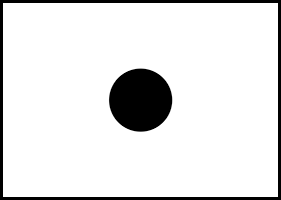
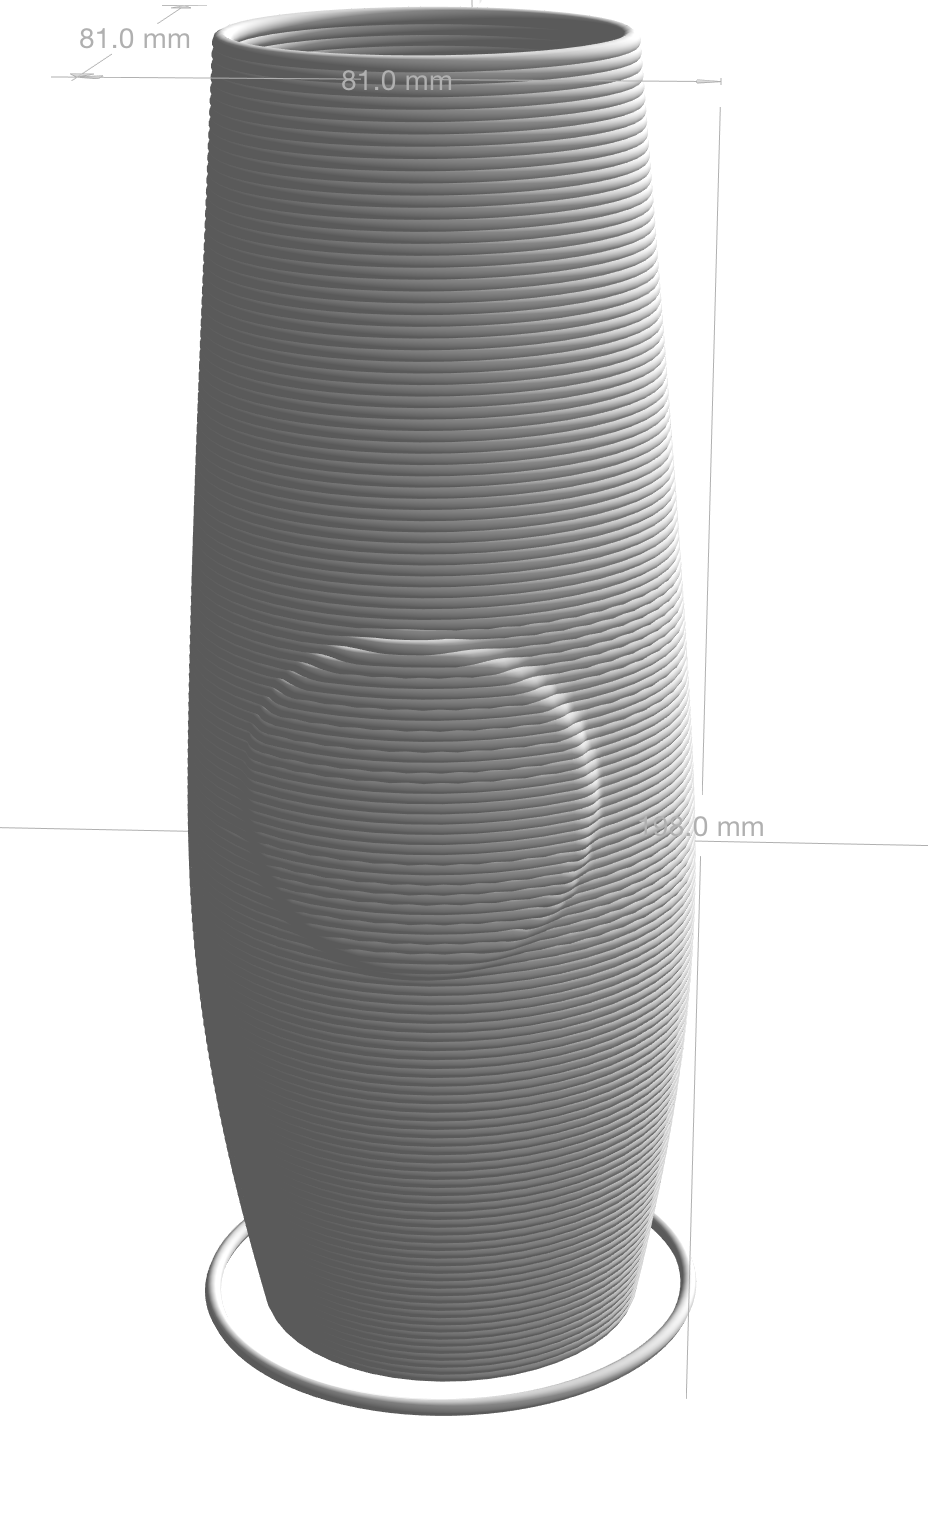
Here is a circle that is calculated with the circumference. The circle is on a canvas that measures 200 x 251 pixels.
If you plan to do image mapping, it’s helpful to learn about making seamless patterns, sizing images, and resolution of 72 dpi. You can find instructions for these things in your favorite software tools, and there are also plenty of pattern generators on the web.
Tips for successful image maps:
- Keep your dimensions small. High resolution images will just bog Potterware down, and make it hard to render results. Max dimension would be 500 x 500 at 72 dpi.
- Chose images that are not that complex. Because you have a low resolution surface, small details will not work well.
- You can use grayscale, color or black and white, but contrast is queen.
Enjoy this new feature! I plan to treat this as a new modeling technique and it will surely occupy many hours of my creative life to come.
All my best! Happy Botting! Love, CB
1 comment
Love this!!!!
Comments are closed.