To the Botters and Bot-Curious,
There were things I wanted to do with my clay printer that frustrated me because I couldn’t figure them out. Those who know me well realized long ago that I don’t give up when I can’t figure out something that I need to know. Stubborn? Tenacious? Obsessed? Whatever you want to call it, I’m afflicted.
Here was the unsolved mystery: I had been modeling a lot of my textured and looped surfaces in Fusion360 with varying degrees of success. I began to notice certain things. If I made a surface texture that was too dramatic (which one defines through trial and error), my bot-pot would lose integrity and often fail. If a texture jutted out, which is kind of the unavoidable nature of texture, there would be an equivalent negative space in the interior wall of my bot-pot. Making textured objects was an exercise in trial and error. At that time, I was using two types of software: Fusion 360 and Emerging Object’s Potterware. Fusion models required that I use a slicing program, and I tried both Simplify 3D and Cura. I liked them both, but noticed that Potterware printed surfaces were thicker and more textured than what I could achieve through my known techniques.
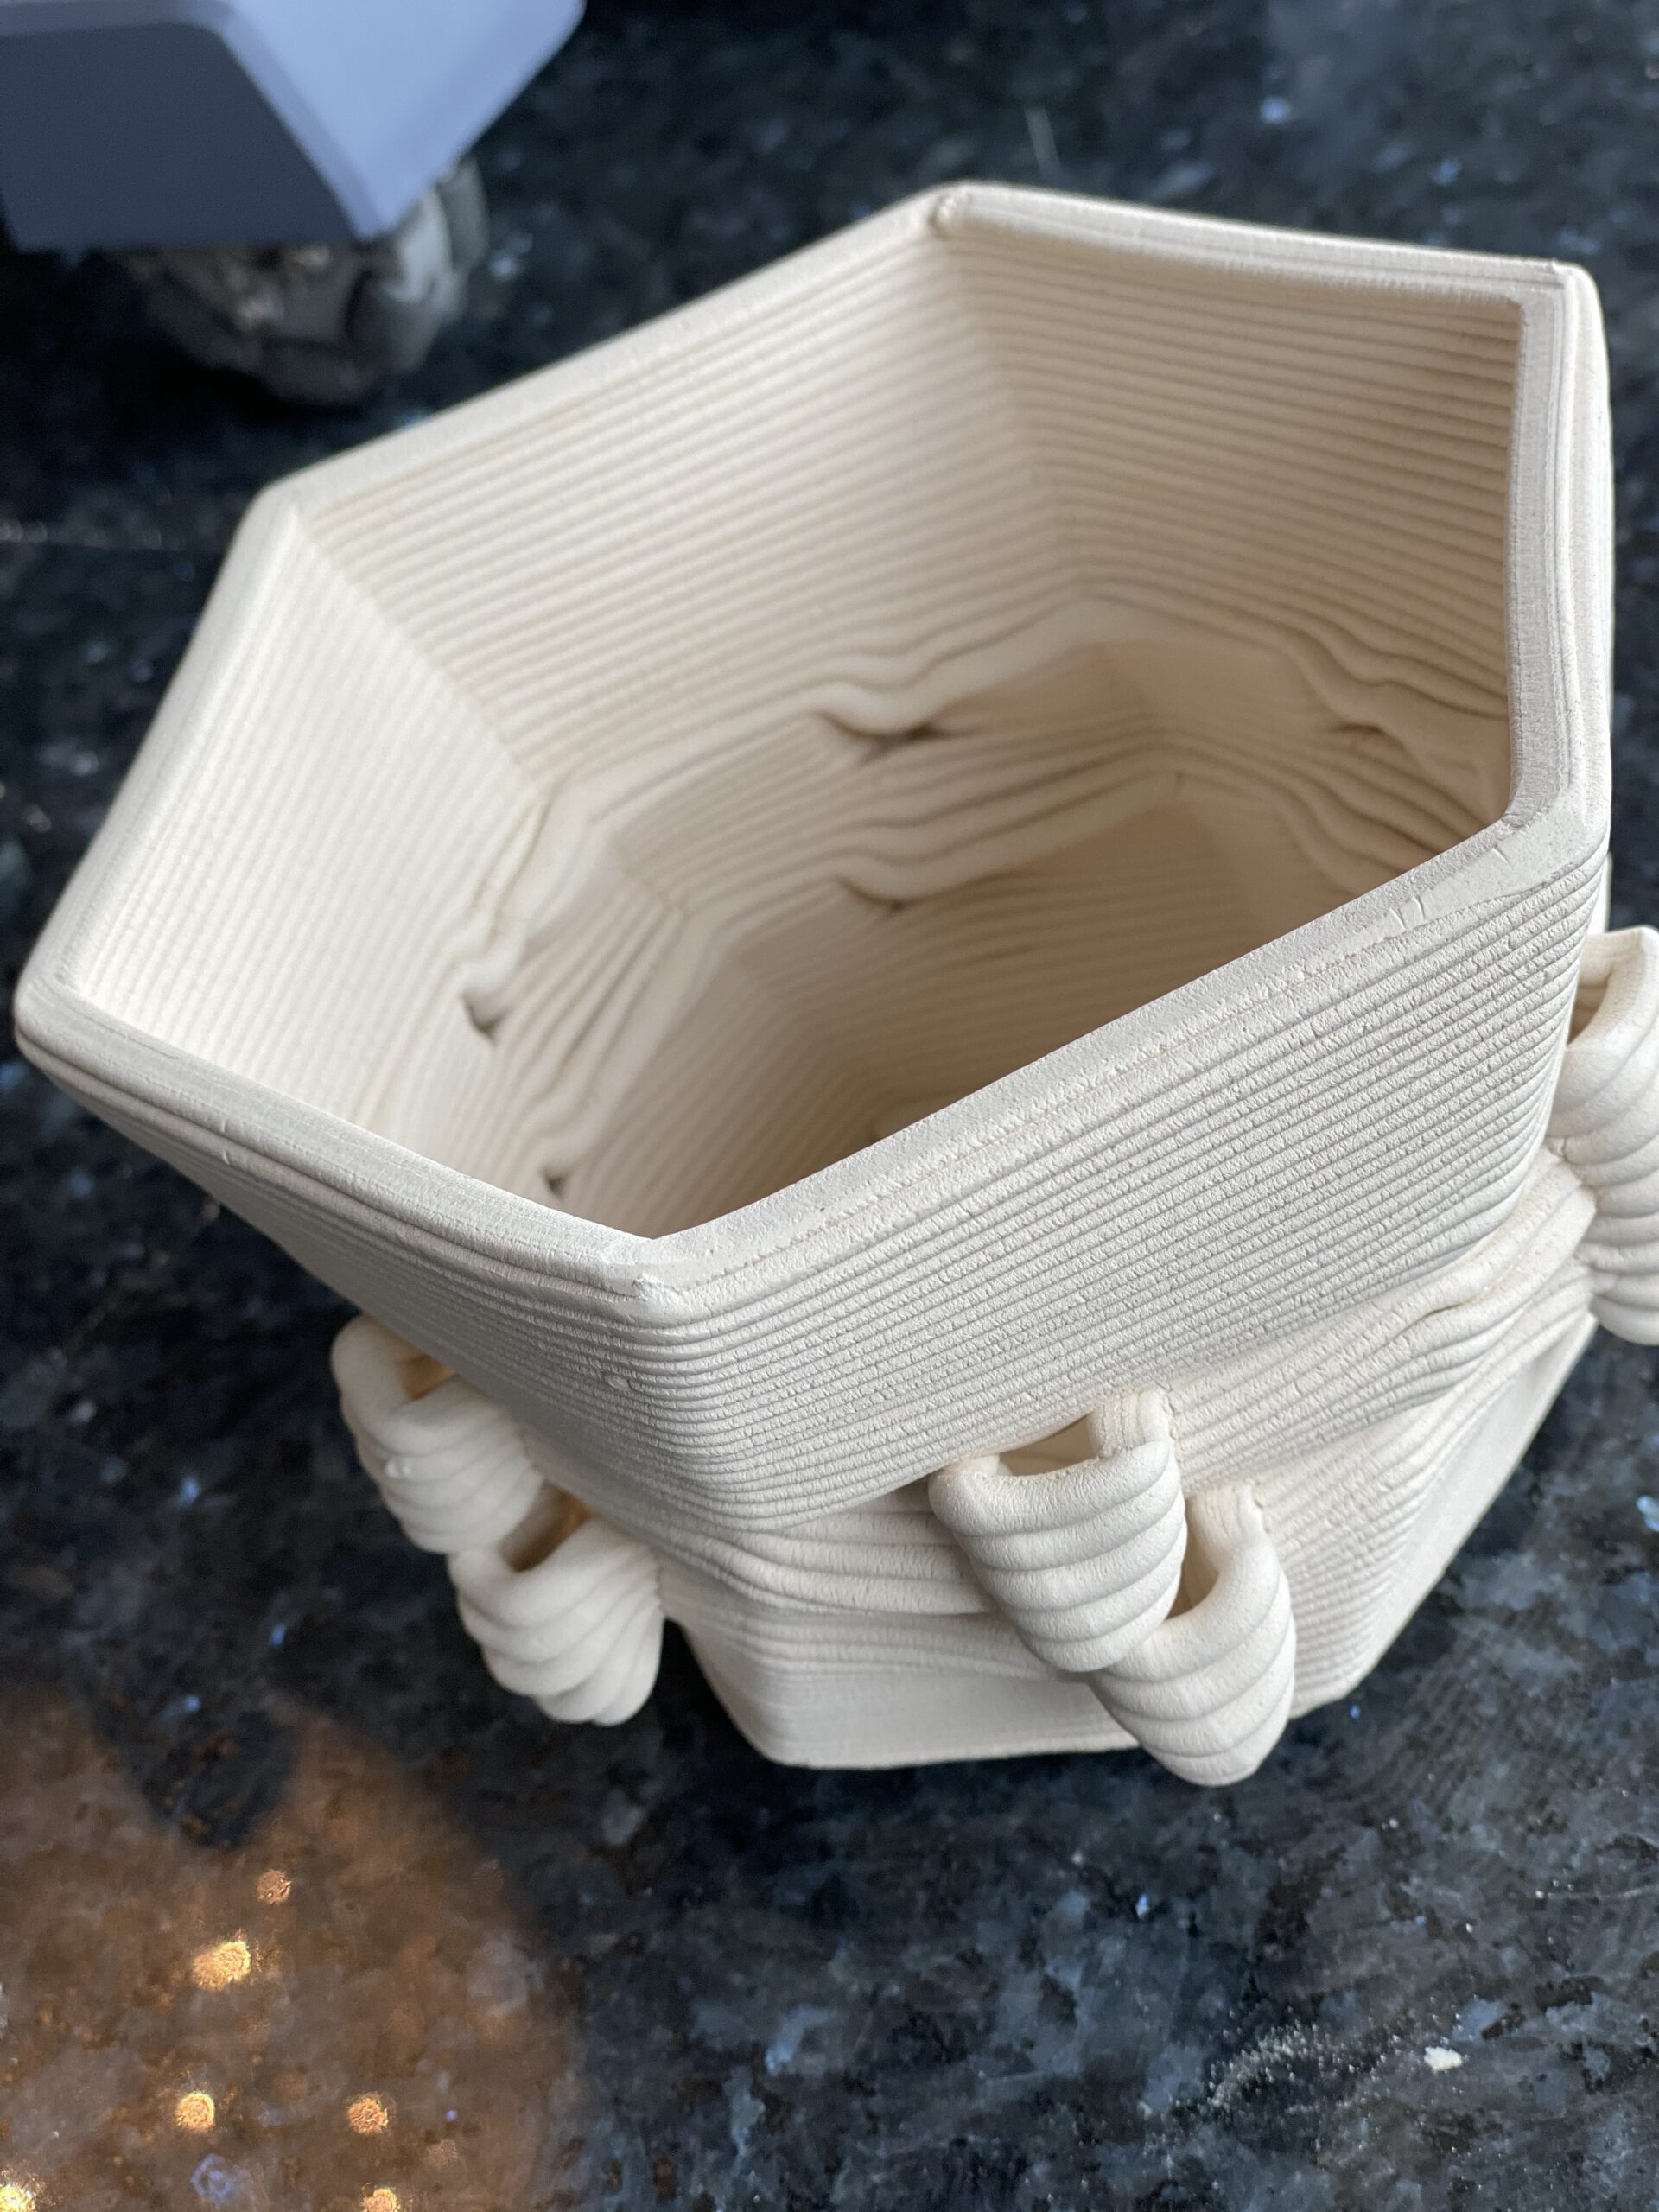
Modeled in Fusion360 and printed with Simplify 3D, note the outer texture looks good, but the inner wall is compromised and somewhat failing.
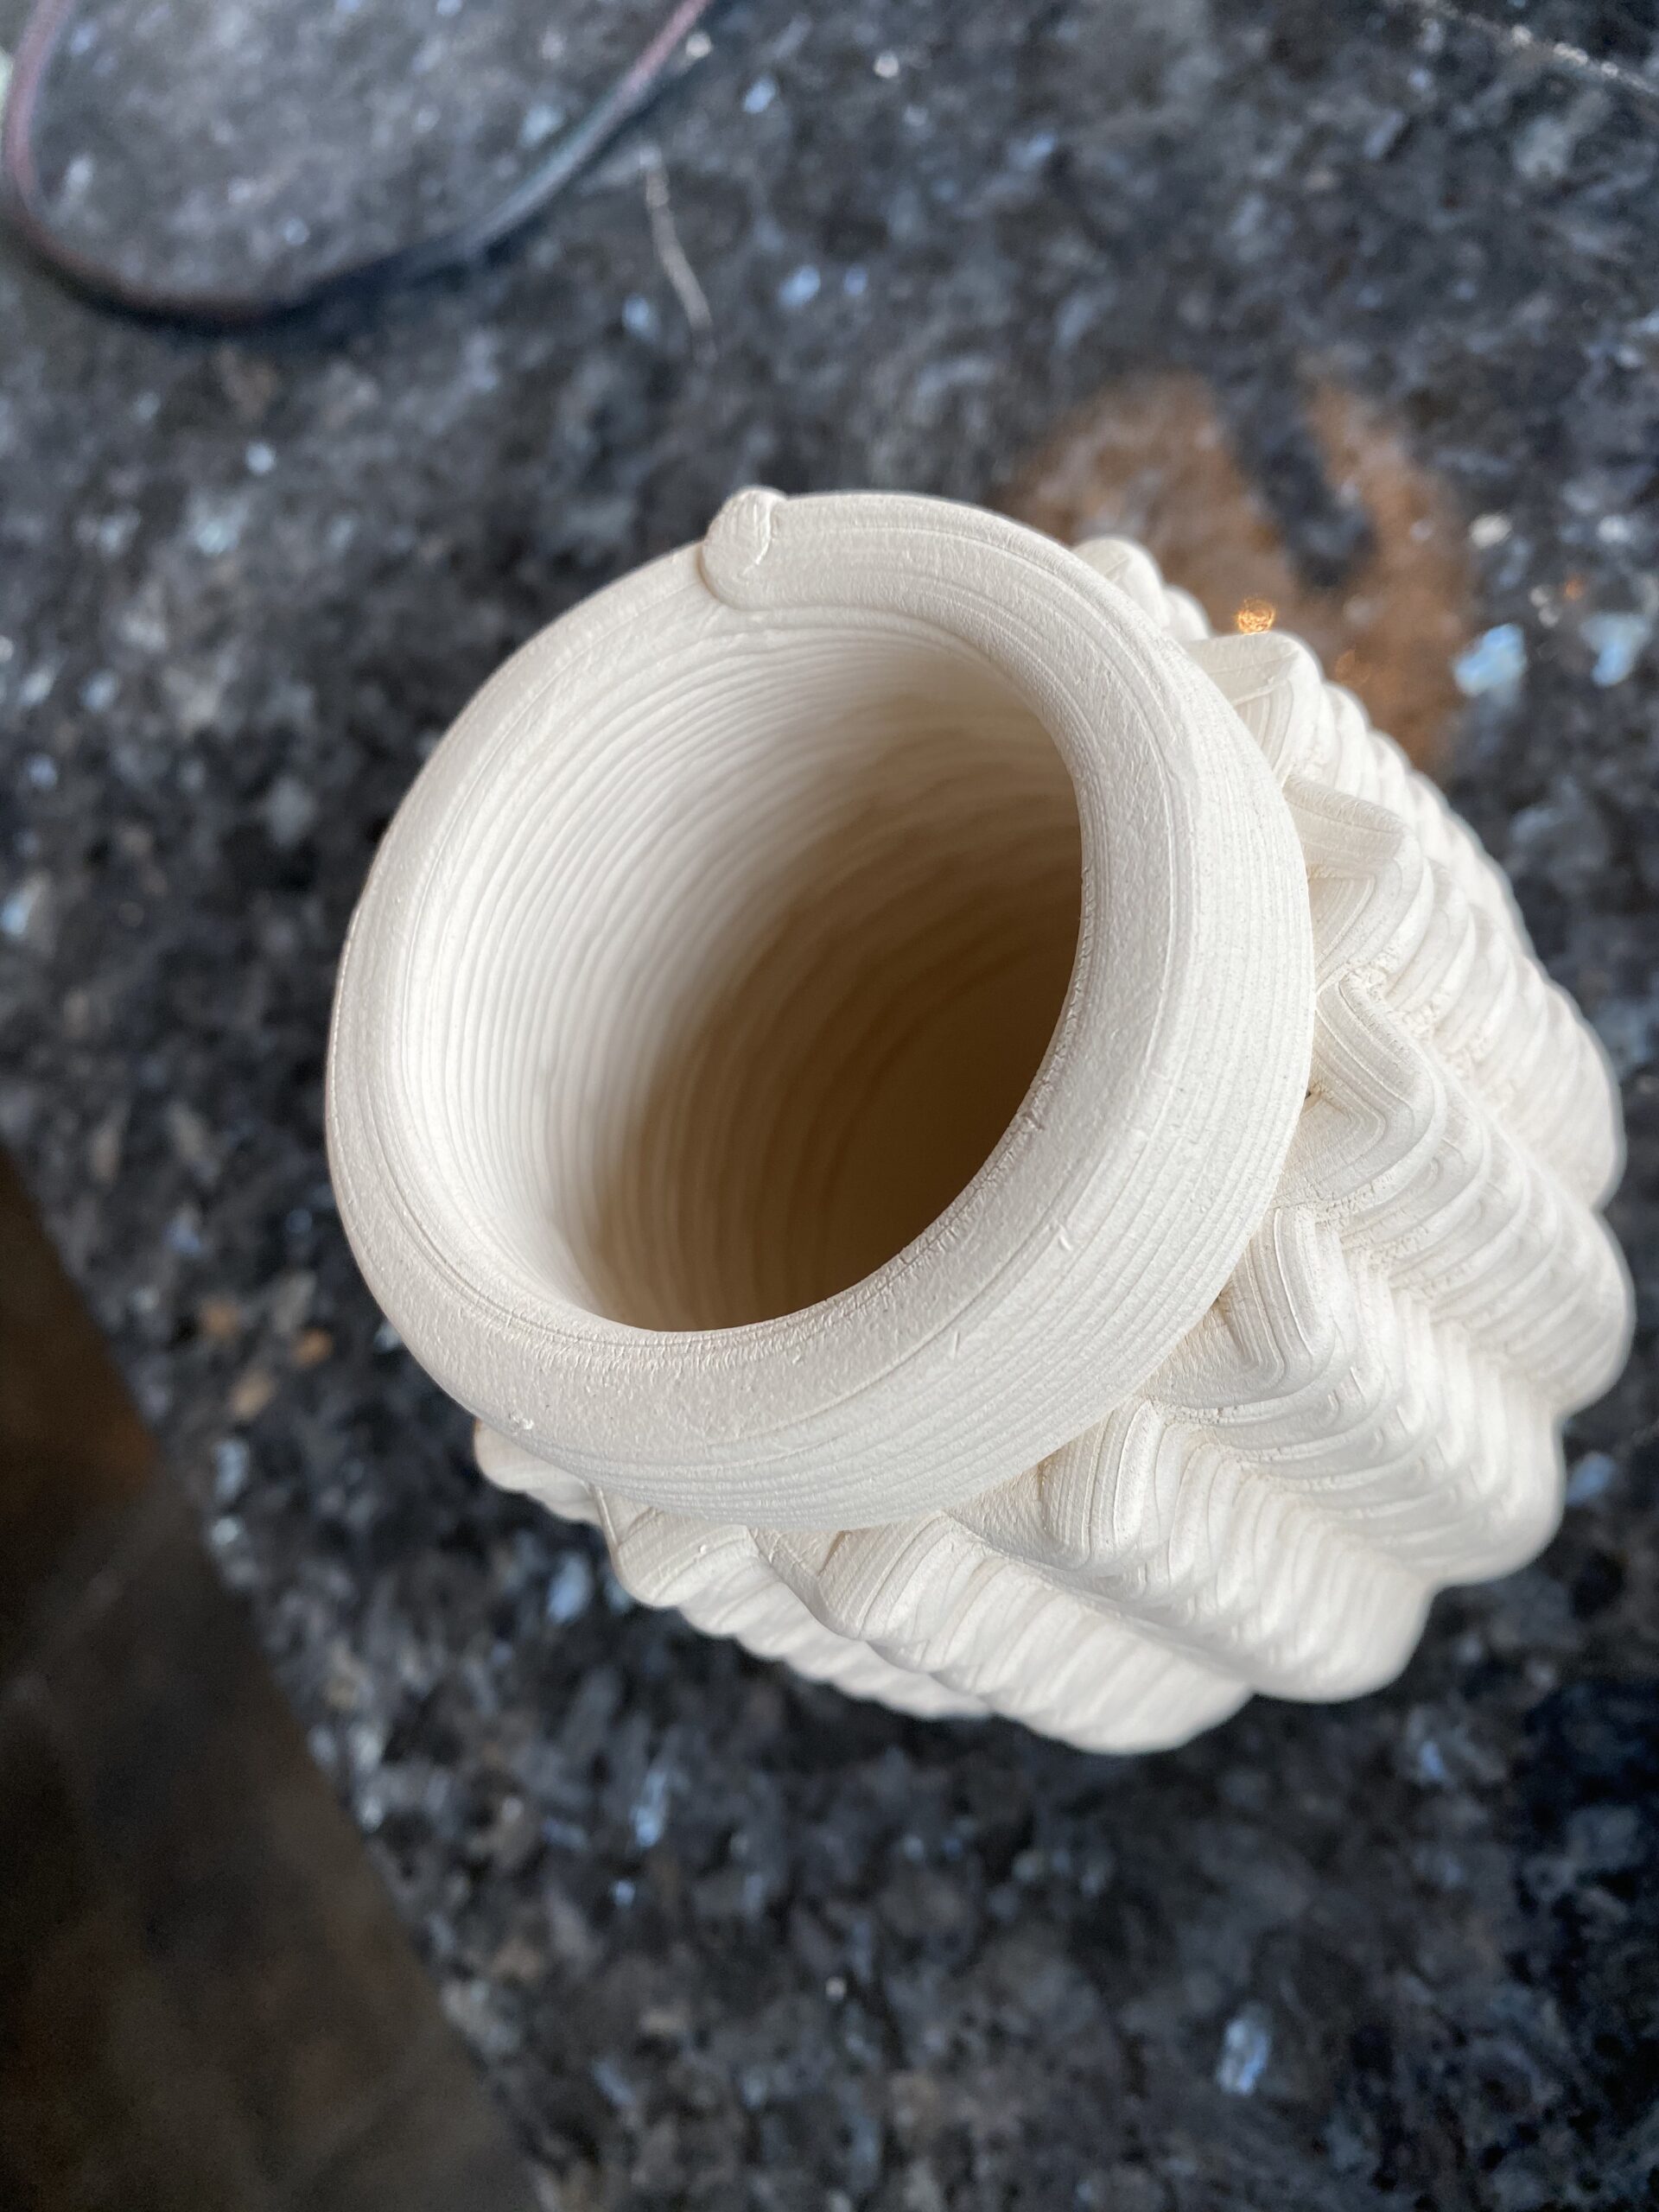
Potterware Print. Textured on the outside, smooth on the inside.
This seriously drove me crazy. I started asking other botters on Instagram, but the only one who answered me was a community college teacher, Stephy Miehle, who teaches Potterbot at her local community college. What a find, and now a delicious new friendship. She is the amazing author of these tutorials and reference materials on Potterware:
- Her Notion Site — https://www.notion.so/a545e30a662d4c74bd2bc9c016e0286c?v=f02c082ecd1c4fe3ab785c05d0120c89
- Her Netifly Site — https://3d-ceramics-guide.netlify.app/tutorials/potterware/
She also knows about a lot of cool apps like Notion and Netifly! My kind of friend…
She also observed that the prints looked better in Potterware, but that didn’t solve the mystery.
HOW DOES POTTERWARE PRINT INSIDE AND OUTSIDE WALLS?
I next asked a good friend, who is a tech genius, to help me “render” the Potterware wireframes to see how they were making their models. I thought maybe I was creating texture the wrong way. Try to find a renderer for G-code, I dare you! But my friend Michael whipped one up! It was a great workaround, and showed me a little more than the wireframe, but still didn’t solve my problem. I still couldn’t make my models print like Potterware’s with a different inside and outside wall.
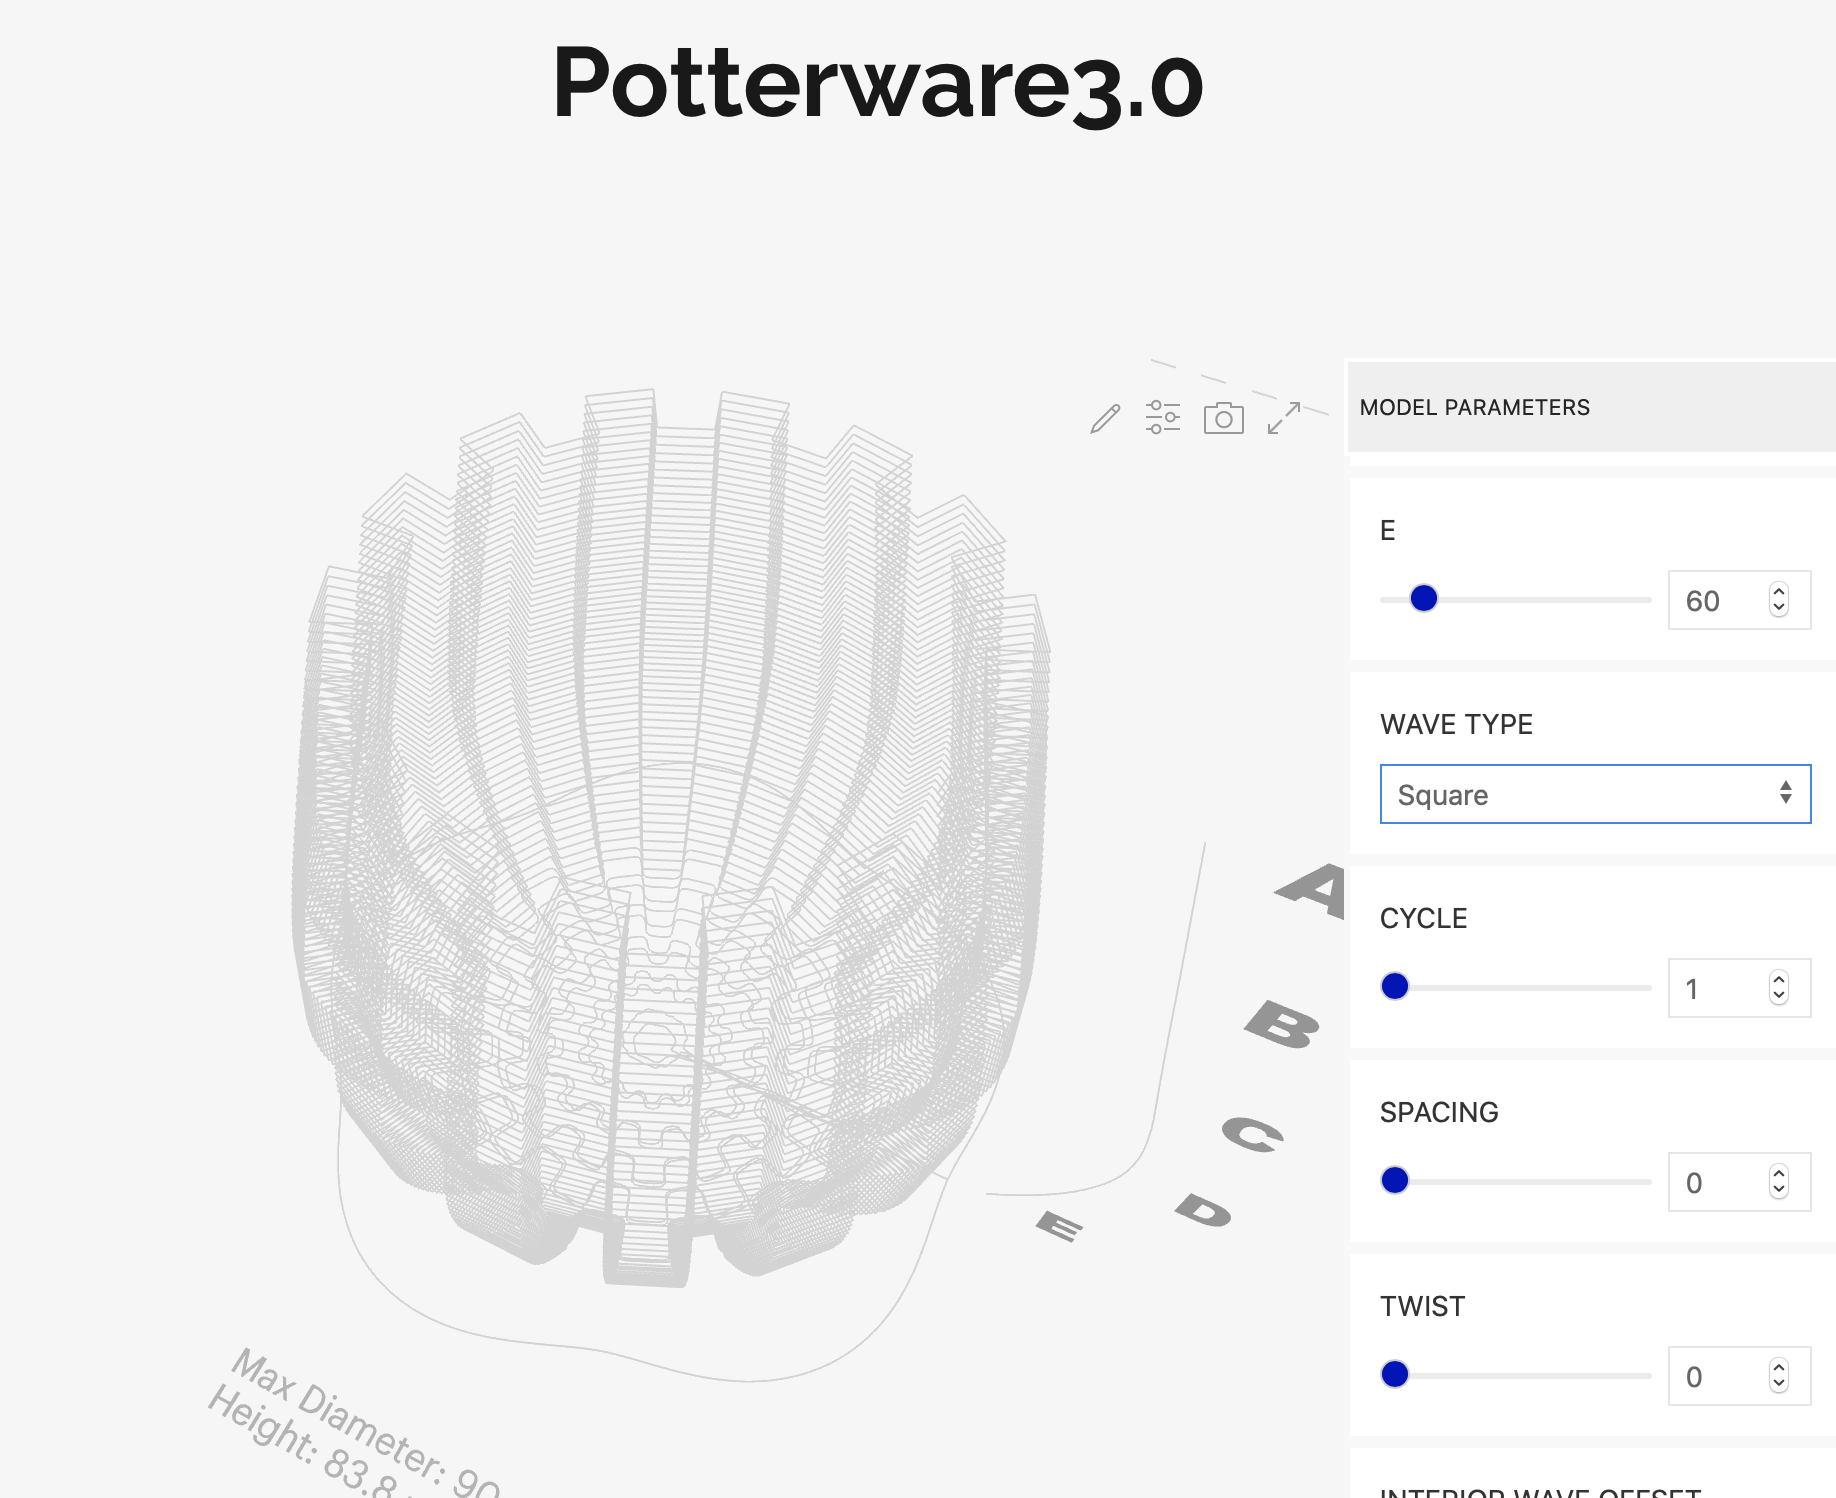
Potterware only displays a wireframe, so I asked my friend if he could render their G-code so I could study construction methods
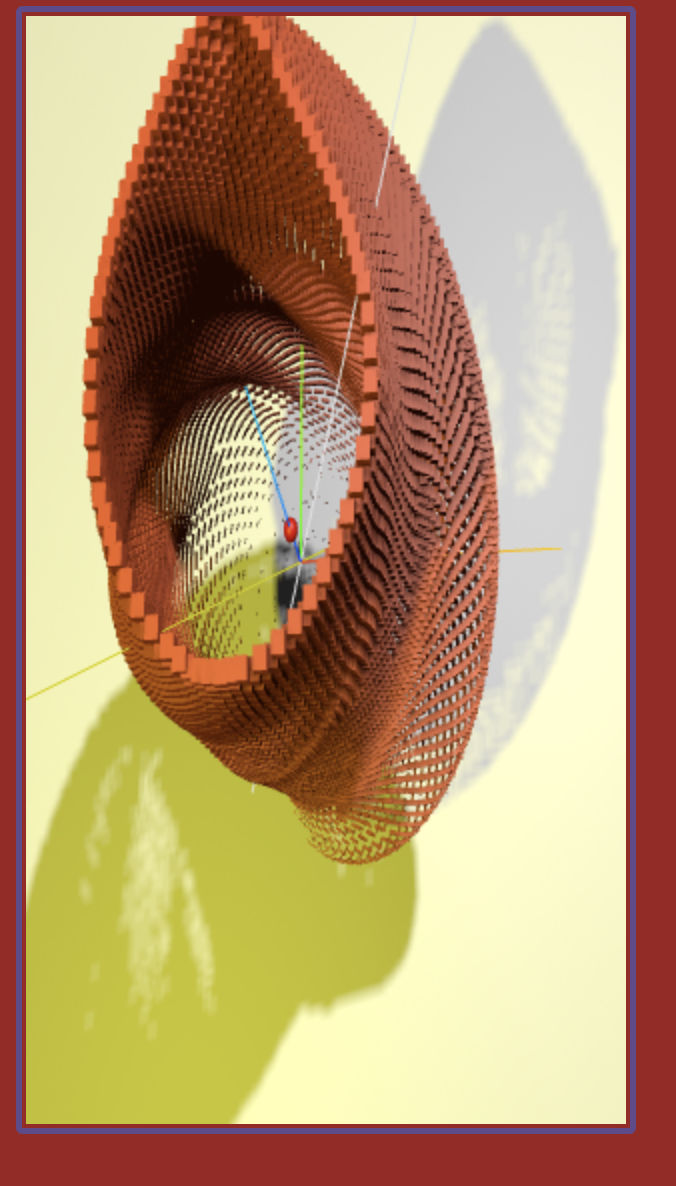
Rendered G-code from potterware. Thanks to Michael, who wrote this as a favor!
I WROTE TO POTTERWARE
I decided to write an email to Potterware at Emerging Objects. Could they tell me how they sliced their models? How I could make loops in my own software like they do in theirs? How can I see their models better? Was there any way to render their models? Could I take their models into other software?
Ron Real, the founder of Emerging Objects (and acting Chair of Architecture at UC Berkely) wrote back, and eventually even took a Zoom call with me. He was curious about some of my feature requests, and wanted to know more about how I was using Potterware. When I asked about the two walls, he furrowed his brow to let me know I was on the wrong track. Everything they do is algorithmic. No modeling software, no slicers. It’s code that is written in Python that spits out native G-code.
Not the answer I was looking for. I should have given up, but thankfully I did not.
I CALLED POTTERBOT
Still determined, I called Potterbot. How is that Potterware gets two walls, an inner and an outer, and Simplify 3D and Cura do not? My friend in tech support, Denis, said he just knows the printers. To his knowledge, it isn’t possible to get two walls. I’d have to write my own slicer like they did with Potterware to get that effect. My Fusion 360 mentor Kevin and I fooled around for hours with Cura and Simplify 3D settings, to no success. Then, I spoke to Danny, the owner of Potterbot! He told me, if anyone knows, it would be Sandy Curth. He was one of the authors of Potterware. He made an introduction and I had my first Zoom call with Sandy.
RHINO/GRASSHOPPER COMBO PLATTER, PLEASE
So, Sandy had so many answers! He is newly graduated with a Masters degree in Architecture from Berkeley, where he as been a researcher and software developer to Emerging Objects for several years, and had written a lot of the Potterware code alongside his colleague, Barrak Darweesh. Sandy confirmed what Ron had said, but with a ray of sunshine and hope. He said that he could teach me how to work with Grasshopper scripts to build a G-code generator myself. Grasshopper files? I knew a bit of Rhino and Grasshopper already, from a class I took last summer with Del Harrow at Anderson Arts Ranch. It’s different 3D software than Fusion, but I knew I could switch if it was worth getting to the solution of the inner and outer walls. Could I study with Sandy to learn how? Gratefully, the answer was yes.
It turned out, that learning the modeling software Rhino was pretty easy after learning Fusion 360. So much of the language was similar, and you can type what you want into a window and easily finds the operation you request. Learning the language was the hard part—what is a revolve, extrude, loft, a mesh, a surface, a point, etc? I picked Rhino up super fast, and actually preferred it right away to Fusion 360.
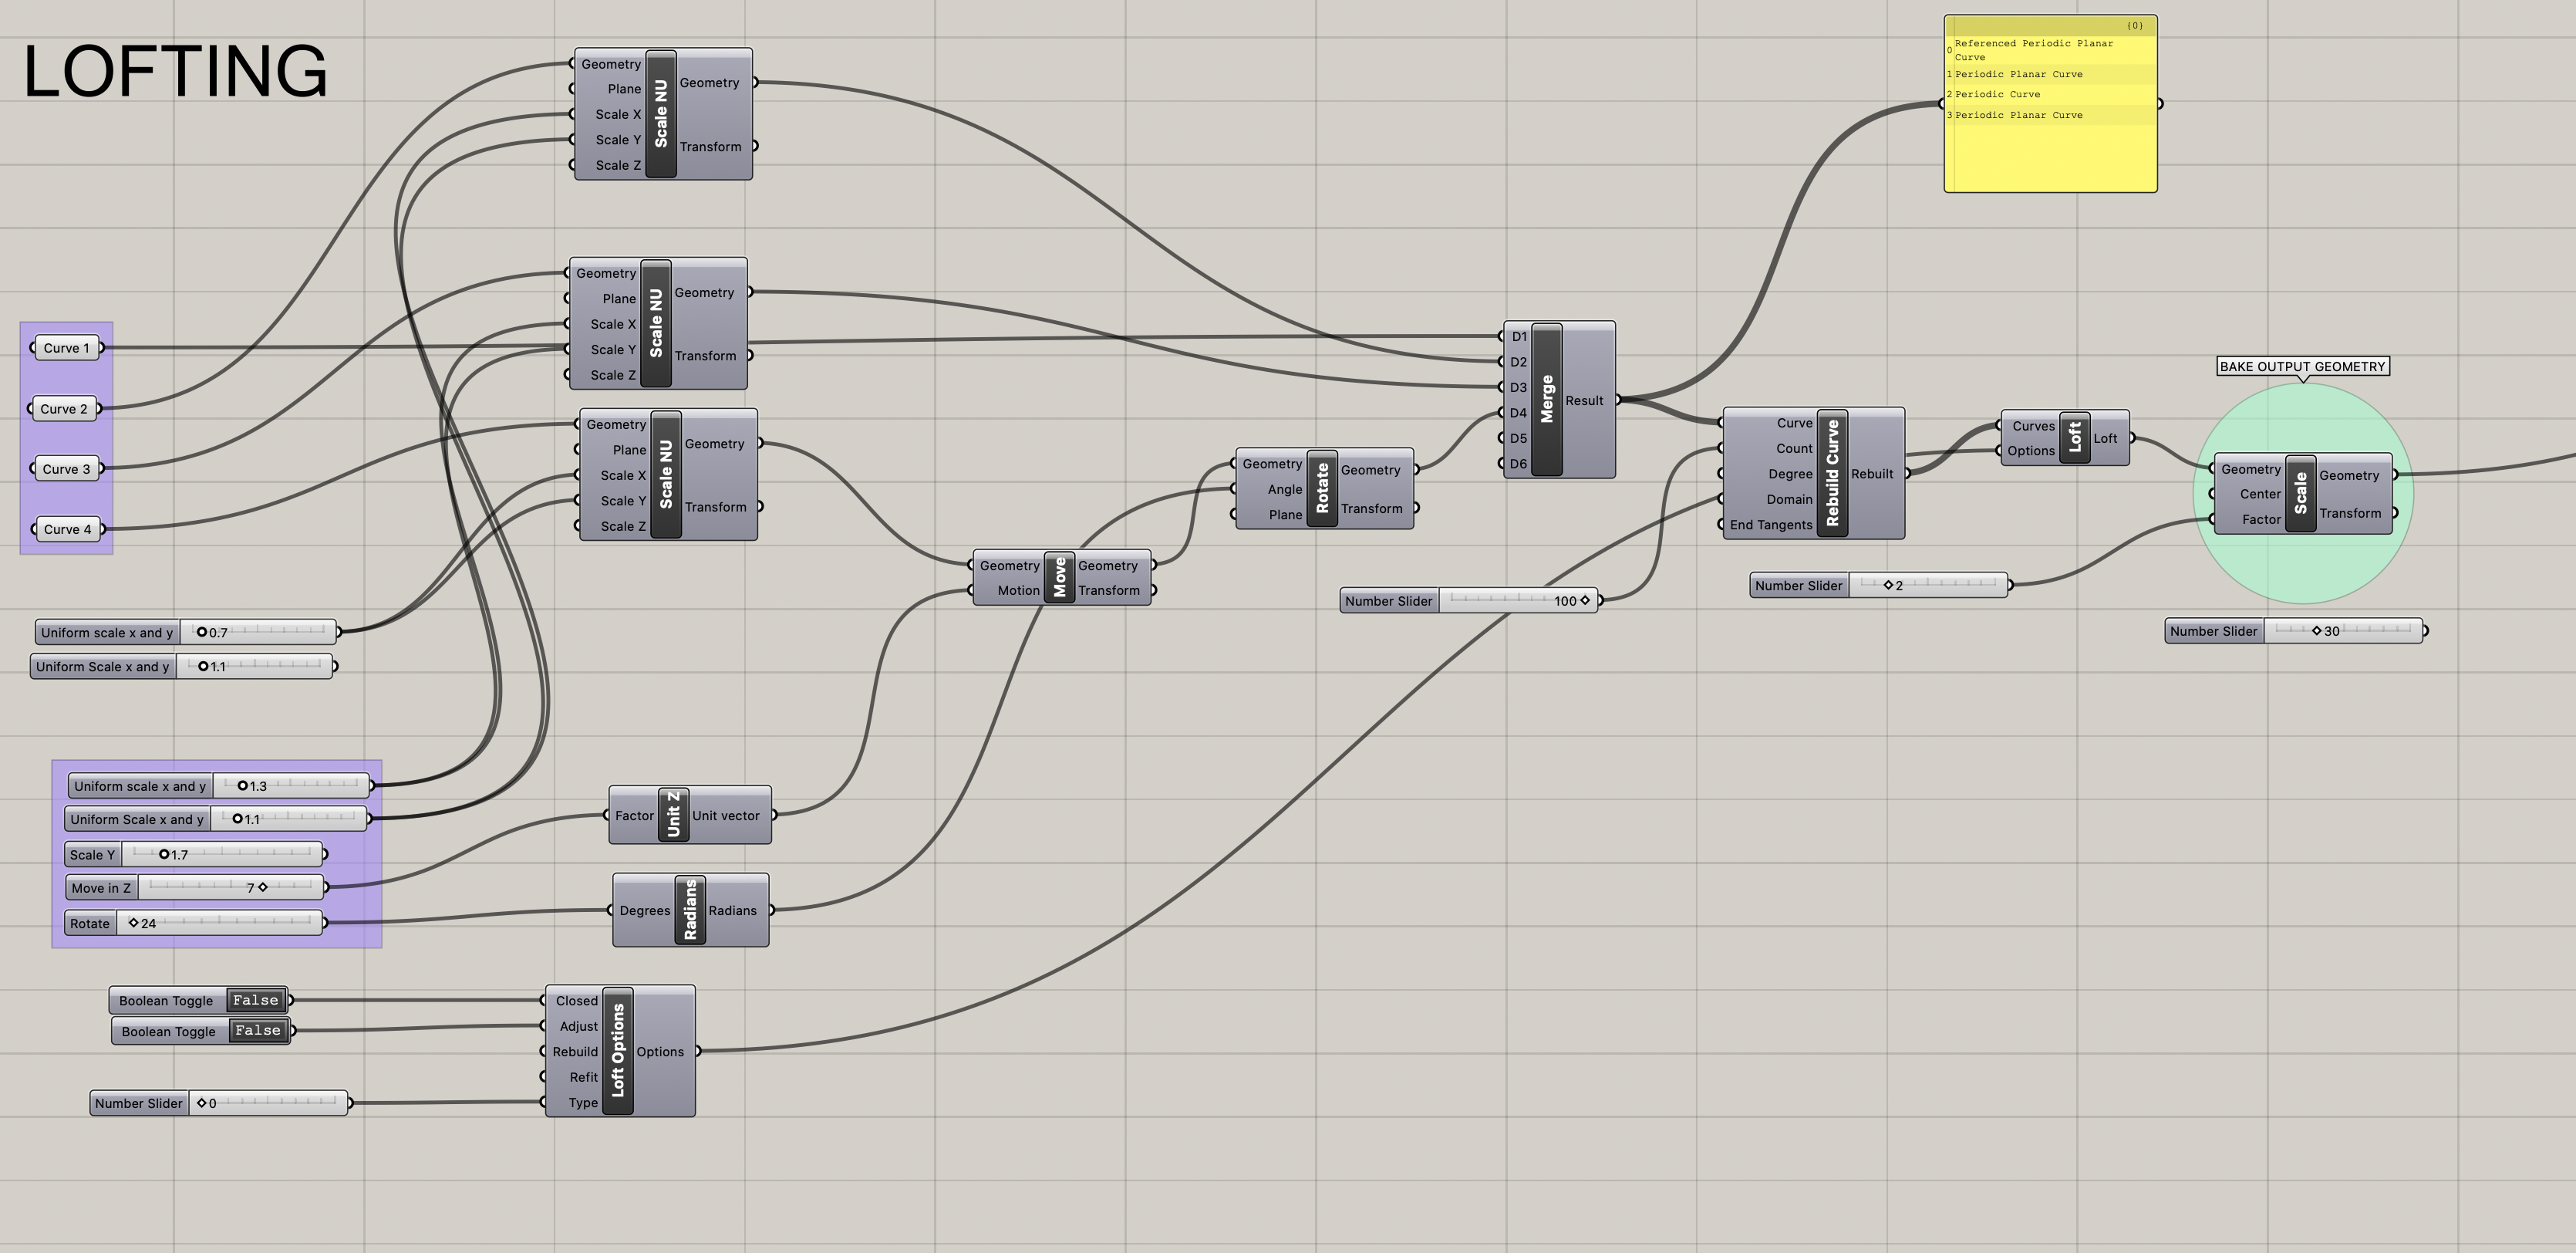
This is what a Grasshopper script looks like. Intimidating!
But to work with Sandy, he wanted me to work in Rhino and Grasshopper to be able to create G-code for my own models. We are about 10+ hours into 1:1 instruction, and I’m slowly getting it. He is teaching me many things, but among them, how to translate curves to points in Grasshopper, and generate g-code. I tried it on my first print, and voila—thicker walls that allow for more extreme textures and angles.
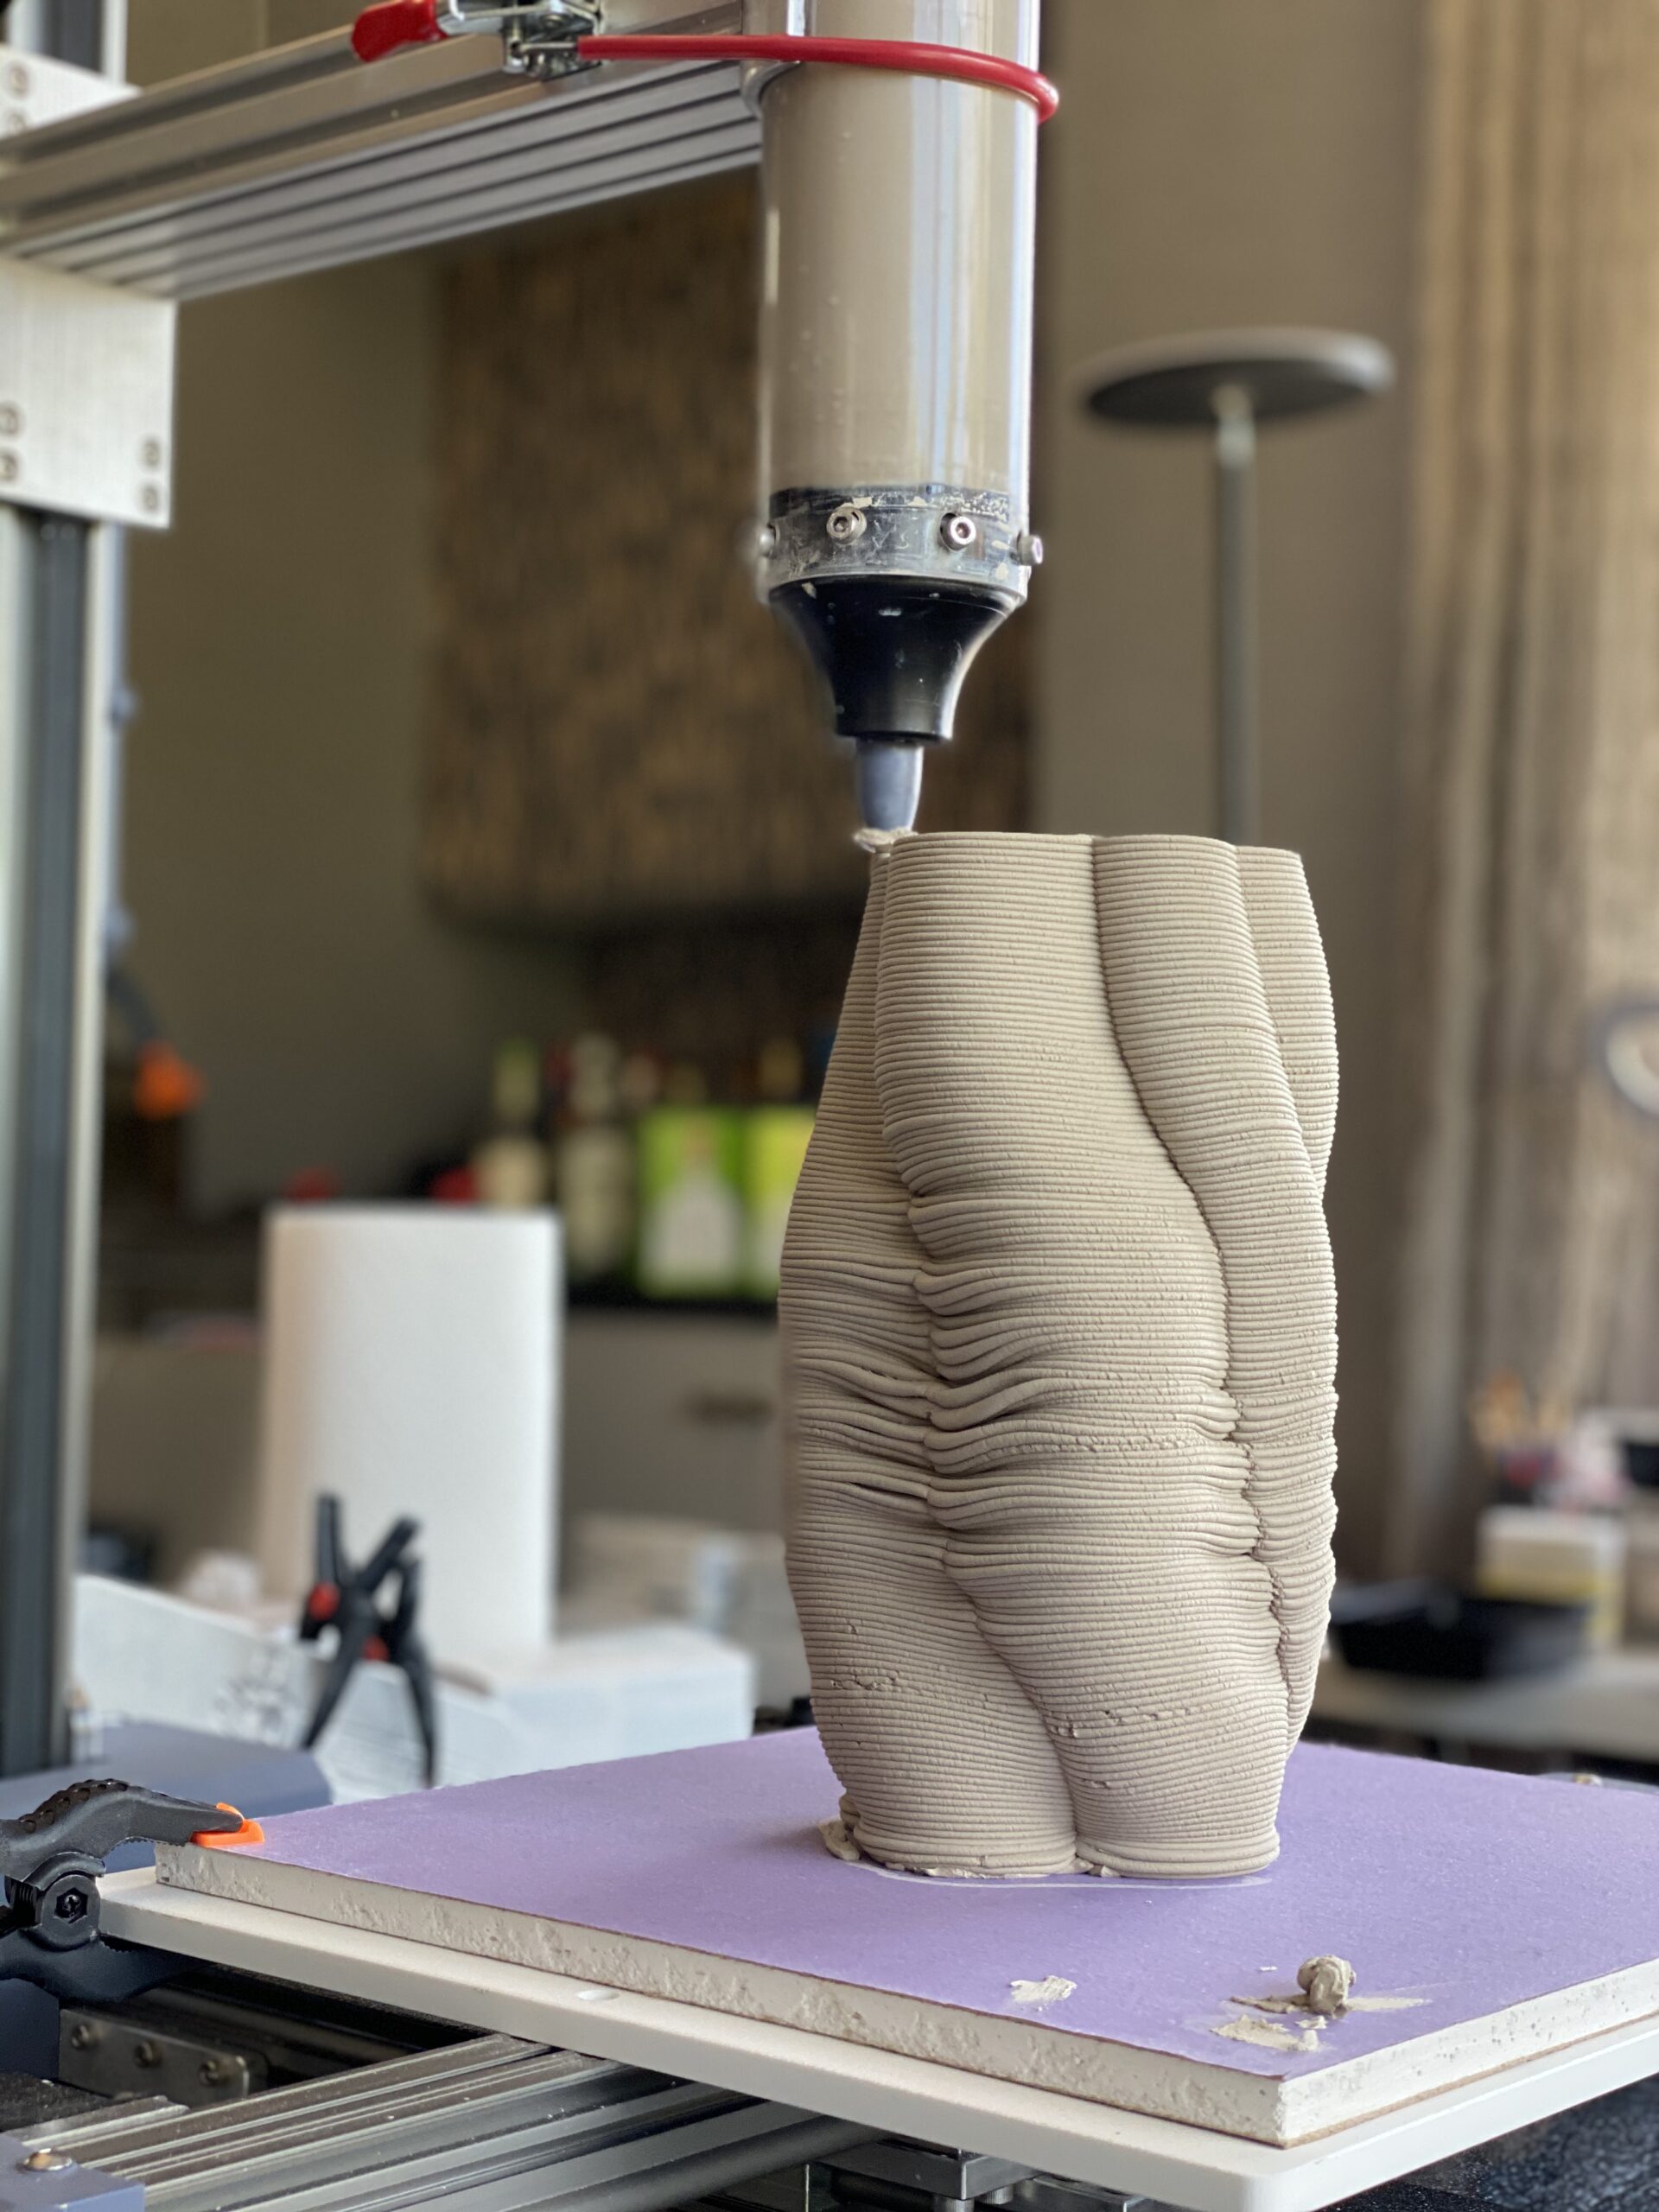
Here is the model printed with G-code from Cura. Notice the sags (which I strangely love!). Still, not always what you want…
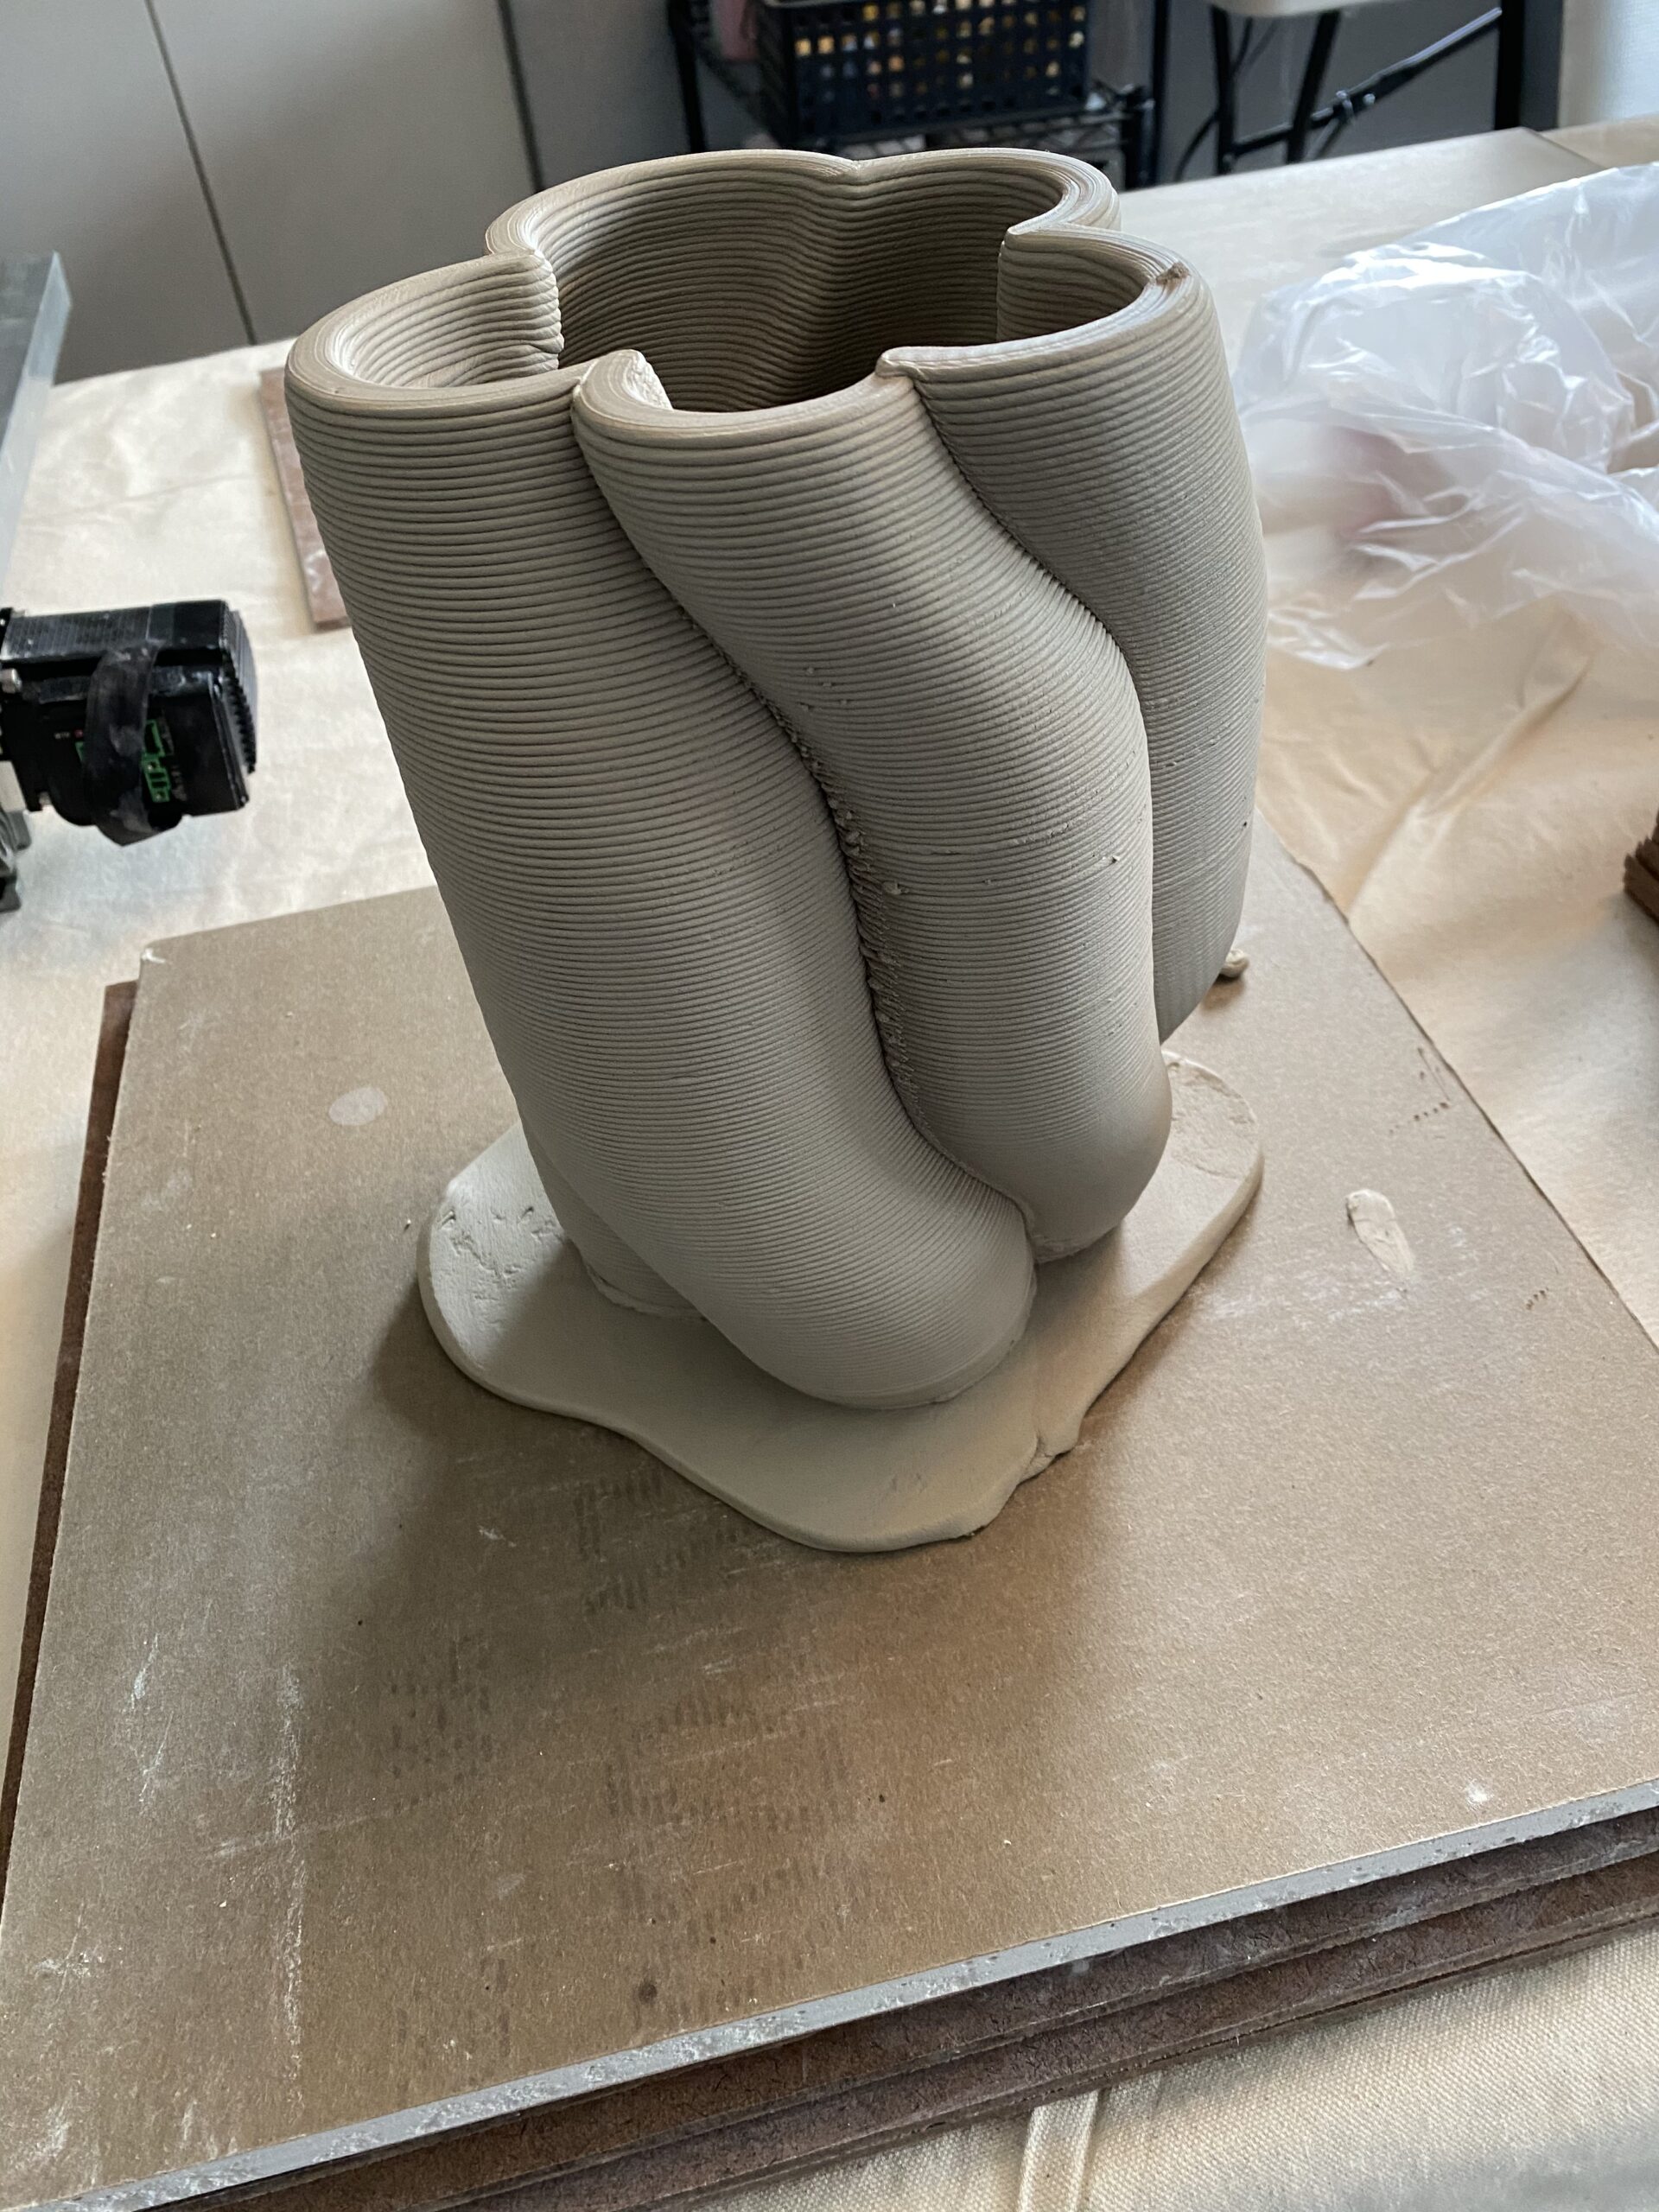
The beautiful thick walls with no sags—courtesy of G-code from Grasshopper script that Sandy set up and taught me to use.
I’ll keep you posted, but I hope to be an advocate to Potterware and 3D Potterbot for new features, considering my new connections. This industry is small, but passionate. We are in the early days, and it will get easier, I know it will.
Virtual Covid19-Free Hugs, your ever-faithful Claybottress

6 comments
That’s the Lynda I know … she won’t give up and figures out a way. Love it!
That’s the Lynda I know. Tenacious and works hard to solve the unsolvable.
Wow! Huge breakthrough for you. I can instantly see the difference in wall thickness and the integrity of the form. Perseverance pays off in learning. Lots of “baby steps” with smart risk taking and growing your mentors
Lynda – I just stumbled on your site and am happy to see tech and clay play together. I teach FDM printing in Experimental Art and Technology at UNM and I am a ceramic artist as well. I have been dying to get my hands on a Potterbot but there are no studios with the printers in my region. It seems to me that your problem here is not with the gcode but with how you are making the models, these look like single walled models so the thickness of your wall is dependent on the extruder nozzle diameter. There are ways to build models with an inside and an outside shell and when you slice the model with a bit of math between the model, slicing software wall settings, and nozzle diameter you can have two walls butt up against each other so you don’t have a cavity between the shell walls and they support each other to prevent sagging. We do it on our Prusa printers in my intro class to show the relationship between shell walls and infill. Simplify 3D does have a gcode simulator which allows you to observe the tool path movement of the gcode and predict errors or print failure.
https://www.3dhubs.com/knowledge-base/selecting-optimal-shell-and-infill-parameters-fdm-3d-printing/
Thanks so much! Clay printing doesn’t use shell walls, like more rigid materials. The way that Potterware creates the spiral for printing is thicker and has more integrity than those of other slicing tools. A new version is coming too – it’s sick with great new features! Hope you get you hands on a Potterbot someday. Endless fun.
Lynda!
How super to see the direction, taste and energy you’ve put into this new life-path. The work is striking and I’m already a fan. Please put me on your list and I look forward to seeing future work.
Brava1
Stuart
Comments are closed.